Showing posts with label bathroom design. Show all posts

Thursday, April 7, 2011

Bathroom DIY Cosmetic Makeover Advice


My sister and brother-in-law recently bought a house and are planning on how to makeover the bathroom on a very tight budget.  With some creative thinking and a bit of physical labor, I know they can do it.  I thought I might share the advice I gave her, as it could be useful to others out there as well.

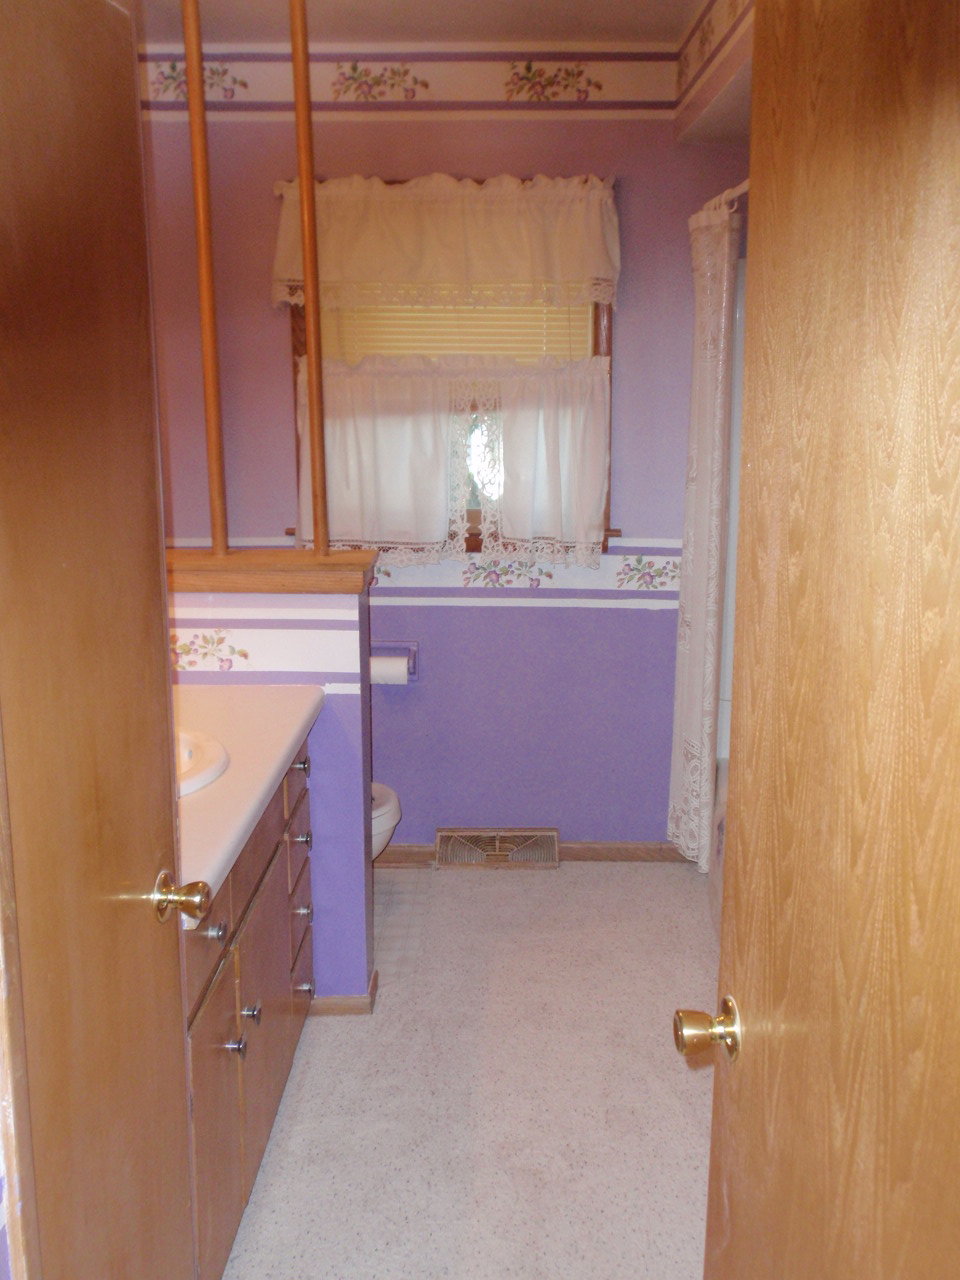
Based on the photo above, here is what I recommended:

  • The most obvious:  Remove the wallpaper borders, and paint EVERYTHING!  Paint the walls, trim, cabinets, and interior doors.  This will take the most time, but will make the biggest difference, and it won't cost much at all.
  • The countertop and sink are pretty neutral so those can stay without turning into an eyesore.
  • Remove the posts sitting on the knee wall between the vanity & toilet.
  • Get rid of the curtains!
  • Instead of boring blinds, make a fun DIY roller shade like this one by Emily A. Clark.   It would look great to have a fun fabric there since that window is such a focal point.  You can find great fabric prices online.  I've recently discovered Tonic Living for great modern fabrics at amazing prices.
via Emily A. Clark

Wouldn't this damask fabric look great?  AND it's on sale for only $ 8.95/yard!

  • Replace the carpeting.  I suggest a simple inexpensive tile.  This will involve the most physical labor but will be the most durable in the end.  If you don't want to mess with tile and grout, a shorter-term solution is a vinyl peel & stick floor, which will probably still be more durable than carpeting.
  • Since you'll want to pull the base trim up to redo the floor, I'd suggest looking into a taller base trim made from paint-grade MDF, which is a great price point and will work well in a high-moisture area.
  • Add flair with a fun framed mirror.  Take a look at places like Big Lots, TJ Maxx, Marshall's, etc. for mirrors.  You can find some great deals there.  Or even local thrift shops.  Keep in mind - if the frame is ugly you can always spray paint it a really cool color.

  • Replace the cabinet hardware.   New knobs will add a little punch to the final project.  You can find simple pieces for just a couple dollars.   Or you can splurge and get something unique for just a little more cost.   I've been drooling over this toggle pull from Paris Apartment for a while now:


Obviously these are only cosmetic changes, but considering nothing is broken and nothing is leaking, a makeover is all this bathroom really needs.  All of this won't cost a fortune, but it will make a HUGE difference.

Thursday, March 10, 2011

An Interesting (and Inexpensive) Vanity Sink


I get many emails from cb2 about new products or sales, and I always open them because I love their stuff.  I was a little surprised today when I saw this photo showing off their new shower curtain.  Though the shower curtain is the main act here, I couldn't help but notice the sink.  It appears that they have simply used their go-cart desk (only $149) with a couple galvanized buckets.  (We have this desk in orange and love it!)


I can't say much about how it will hold up though.  I might put a glass piece over the desk to protect the surface from rust?  As for the buckets... I guess if they don't hold up you can easily replace them and retire the old ones out to the back patio as planters or something.  

Note:  If ever doing something like this that will expose the plumbing beneath the sink, please pay a little more for the special finishes rather than using the plastic PVC.  It's worth it!

Monday, January 31, 2011

Park City Condo Project: Before & After

Take a look inside the condo remodel that is nearly completed!  
Before & After photos say it best, so here you go:

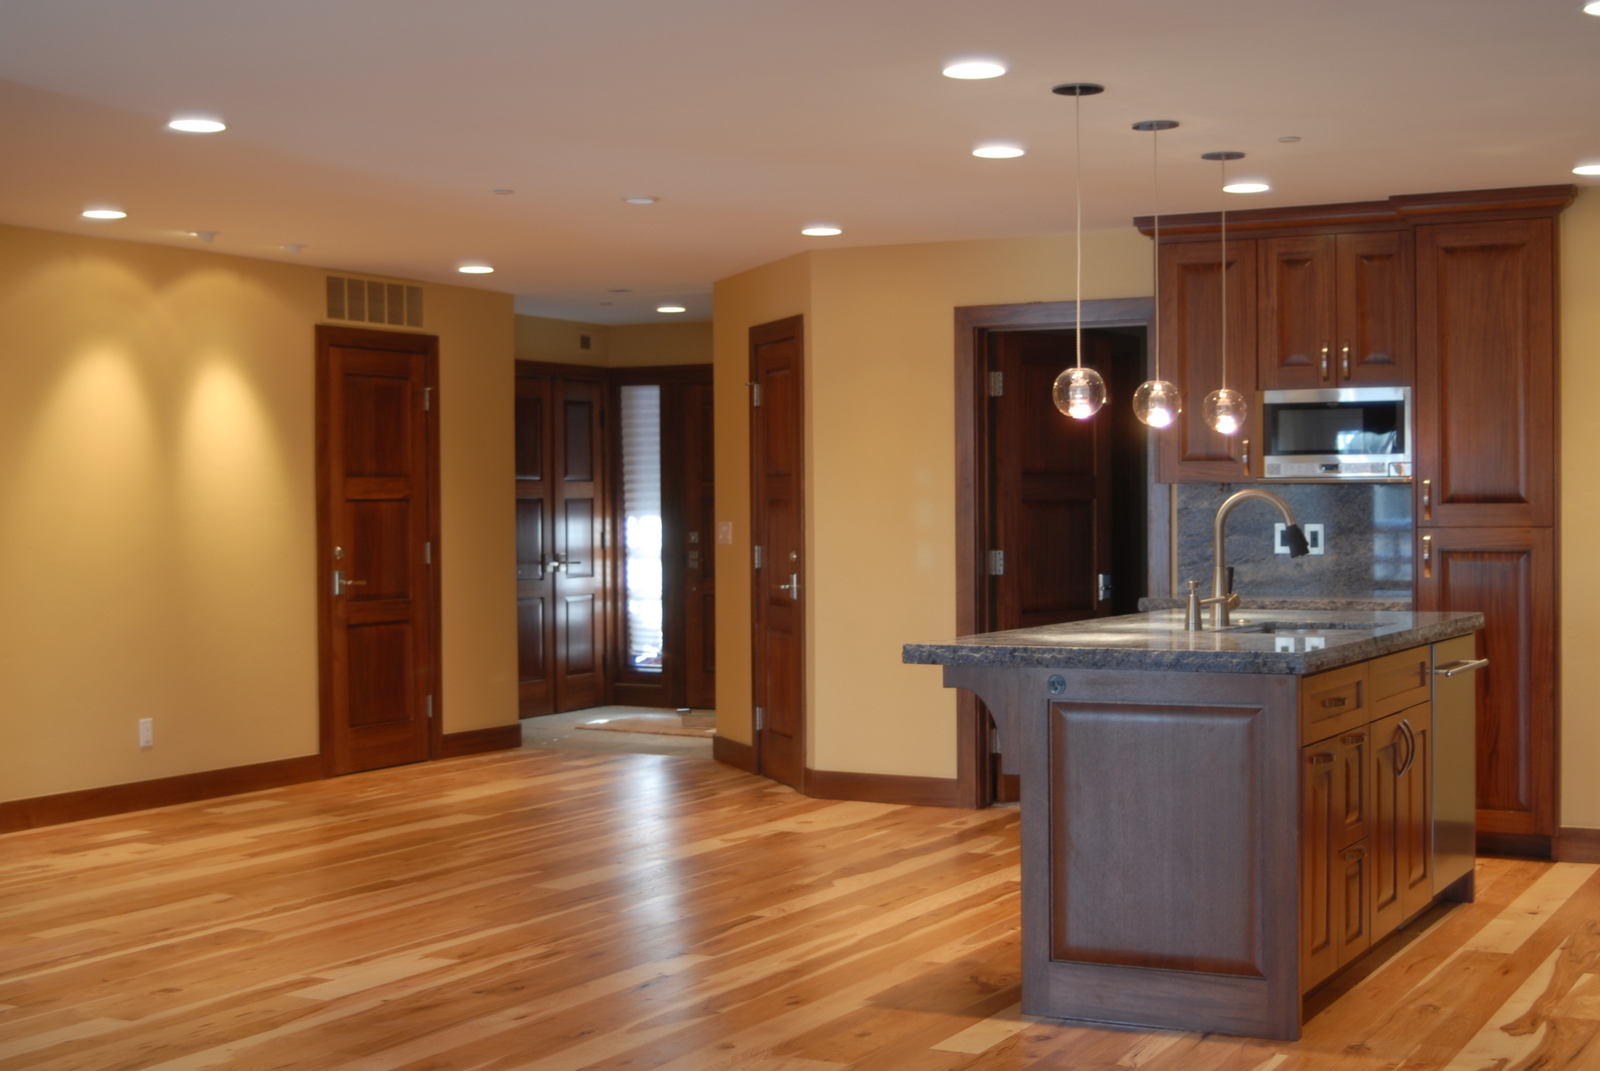
Main view from foyer - BEFORE

Main view from foyer - AFTER
Simply removing that kitchen wall made the condo feel 10x bigger.

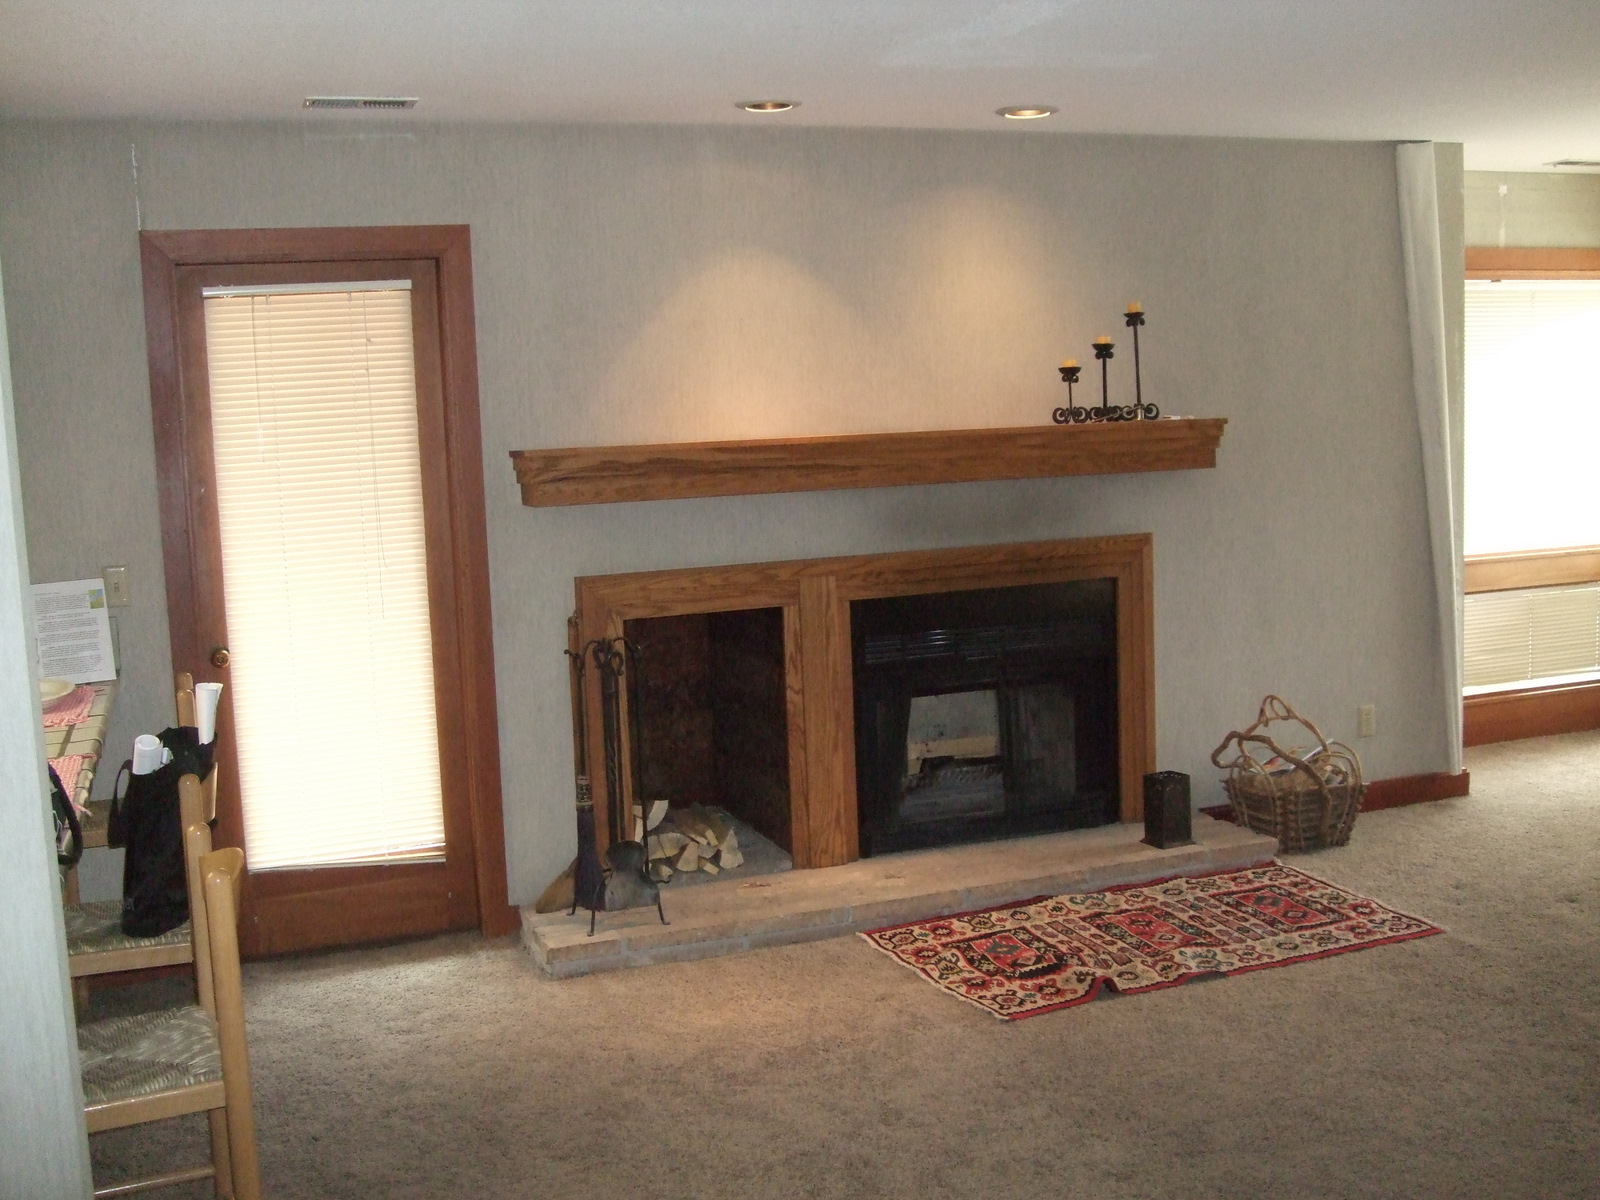
Fireplace - BEFORE

Fireplace - AFTER
We resized the fireplace so the firebox was centered in the surround.  It looks much bigger even though the firebox is in the same location (raising the firebox was easy, but moving it left or right would have been much more expensive), and is now more centered on the sitting area (furniture is still in the works).

Kitchen - BEFORE

Kitchen - AFTER

View into Foyer - BEFORE

View into Foyer - AFTER


Master Bathroom - BEFORE

Master Bathroom - AFTER
We reconfigured these walls a bit so the vanity would be part of the bathroom rather than the bedroom, and the closet is now bigger.  We also got rid of all the funky angles here for a much cleaner look.

Guest Bath - BEFORE

Guest Bath - AFTER

There are still a few items to finish, including furniture and accessories.  I hope to show more photos of the furnished space (including bedrooms) once that is all completed.

This has been a really great project to be a part of.  My client loves color and appreciates natural materials and textures, so I've had the opportunity to be a little more bold than usual here.  The contractor, Bruce Anderson, from Blue Willow Builders, has done a wonderful job and has a great team of guys that are fun to work with.   I wouldn't hesitate to send anyone to Bruce for remodel or new construction projects.  All the beautiful cabinetry, doors, trim, and fireplace mantle, were designed and built by Chris Peterson at Riverwoods Mill.  Chris has a great eye for detail and it has been a pleasure working with him on design specifics.  Other key players are Cora from Ferguson, Kathleen at European Marble, Terry from Foremost Interiors, Jayson from Kupferschmidt Electric, Tony from Workman Floors, Keene from Mountainland, the staff at Light Spot Modern Design, and many others.  Having a good team makes all the difference in the world!


Friday, January 14, 2011

What's So Cool About This Faucet?


Well, aside from the cool modern style of the Hansa Canyon faucet, Hansa has been a frontliner of the current trend of LED lighting incorporated into everything, including faucets.

We just installed this in a client's bathroom.  It features electronic controls, and temperature-sensitive LED lights.

Red = Hot 

Blue = Cold

And Purple = Somewhere in the middle

I'm excited to post more (and better) photos of this project once it's finished!

Wednesday, December 29, 2010

Recent Project: Cottage Style Home


We are THIS CLOSE to being finished with this beautiful new home.  There are just a few more details to be finished, such as mirrors and miscellaneous cabinet hardware.  I did this project through Arendal Kitchen Design, with Interior Designer Scott Andersen.  Scott does amazing work - I admire his attention to detail in every part of every project.  And I especially admire his taste in light fixtures.  Every light fixture in this house is a "wow" piece that is a work of art in itself and truly MAKES the house.  Of course, the cabinetry is pretty fabulous too (patting myself on my back).  The kitchen is my favorite - the white inset cabinets with custom glass transoms and custom hood are simple yet beautiful.  And they pair so well with the classic marble and limestone tops and subway tile backsplash.

Butler's Pantry

Butler's Pantry

Master Closet

Master Bath

Master Bath

Laundry, unfinished (check out the painted wood floors!)

2nd Floor Bath


Thursday, June 10, 2010

It's About Time


Once in a while I get the urge to post about specific products.  This has nothing to do with sponsorship or anything of that nature (after all, I only have 16 followers so I'm not high on anybody's sponsorship list!).  I post about these products because I like what I see, and I like the design behind it.  

So today I'm posting about a new tub from Kohler, the Expanse bath.  You know the bowed shower curtain rods that were a big trend because everyone wanted more elbow room in their bath tub?  The idea was great, though often awkward because the shower curtain still had to drape inside a rectangular tub to prevent puddles of water on the floor.   

The concept seems so simple, yet it's taken this long for someone to finally come up with a bath tub that follows that same train of thought.  Kohler's tub fits in a standard 5' bath alcove (assuming this standard will accommodate a 32" wide tub rather than the older style 30" tubs).  There are so many times I've been limited by the size of the existing alcove, and this offers another option for people who like to soak.  Finally!


The only limitation?  I've yet to see a curved glass shower door, so you're stuck with a shower curtain for now.


And to top it all off, for those of you who love baths, they've also introduced a closing overflow drain.  If you're in the business, you may know the little trick many of us have used to allow clients to have a deeper bath... installing the overflow upside down to allow for a couple more inches of water in the tub.  The drain gives you the option to close the overflow when bathing so you can fill the tub as high as you want!  Probably not recommended for kids' baths... 
My Ping in TotalPing.com