Julie of The Girl and the Cupcake Blog talked about it in this POST. Here is the inspiration:

{photo via Fran of Green Street Blog}
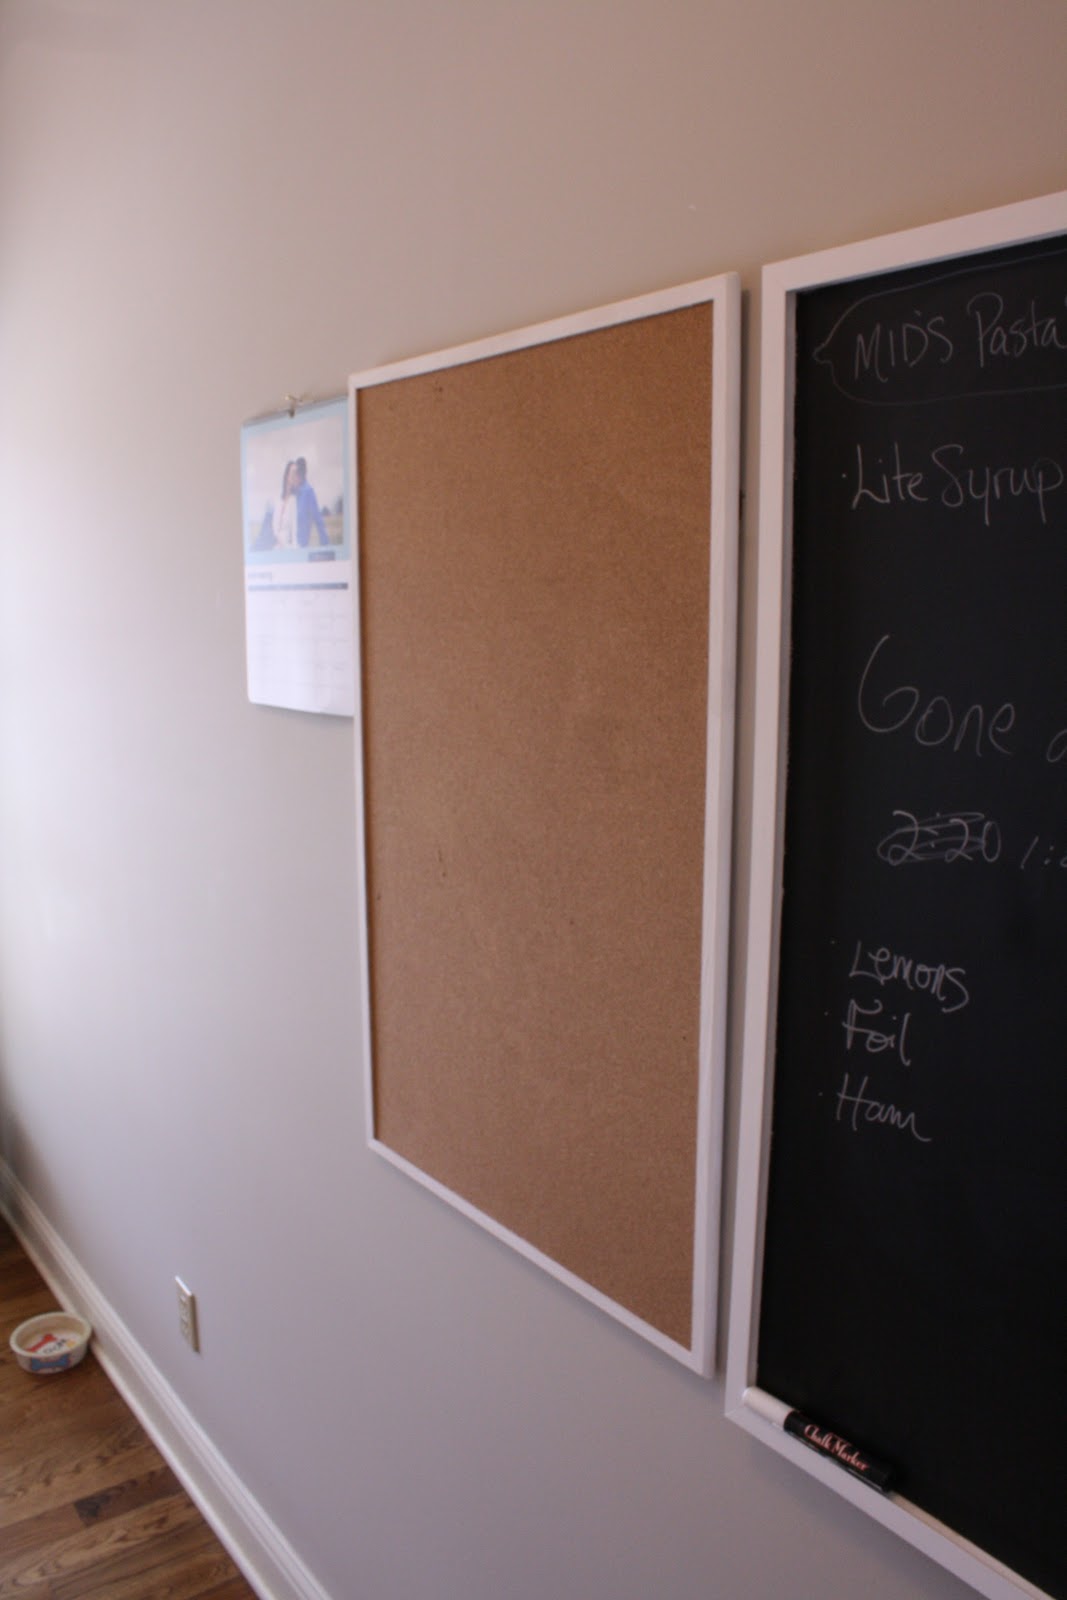
BEFORE:

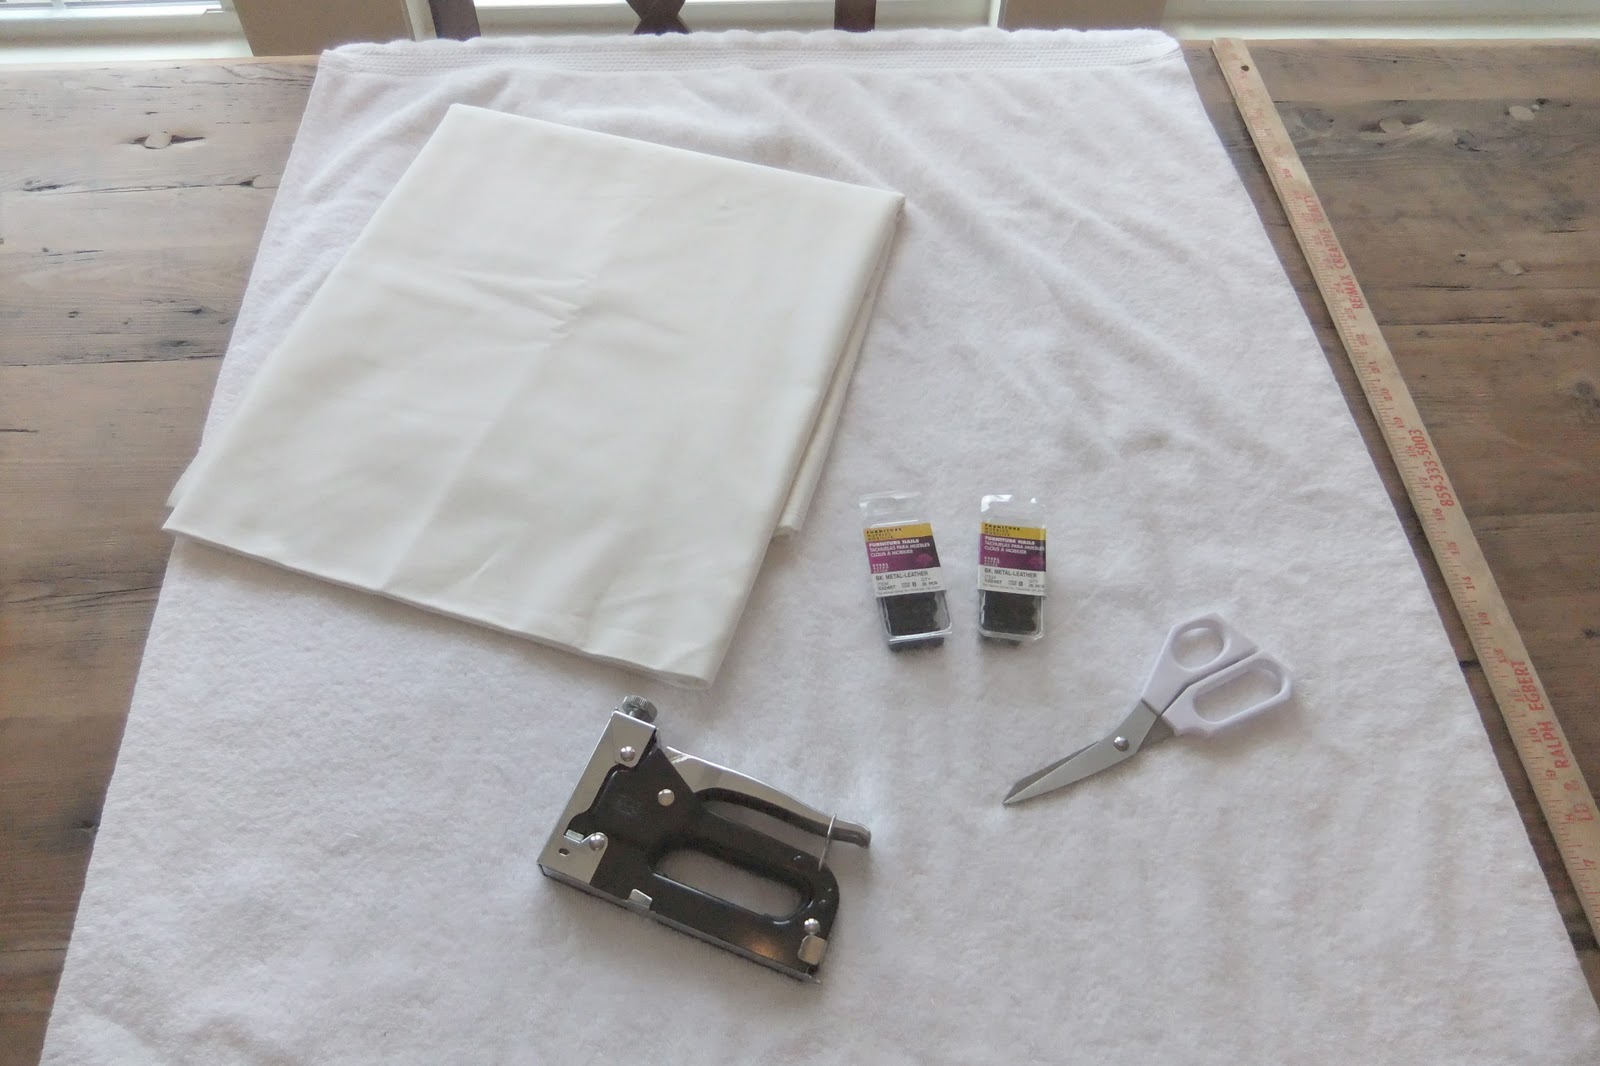
MATERIALS:
Fabric, upholstery stapler, nail trim, scissors, ruler.
I trimmed the fabric to overlap a couple of inches. I also ironed the fabric after I trimming because I wanted a smooth surface to work with.
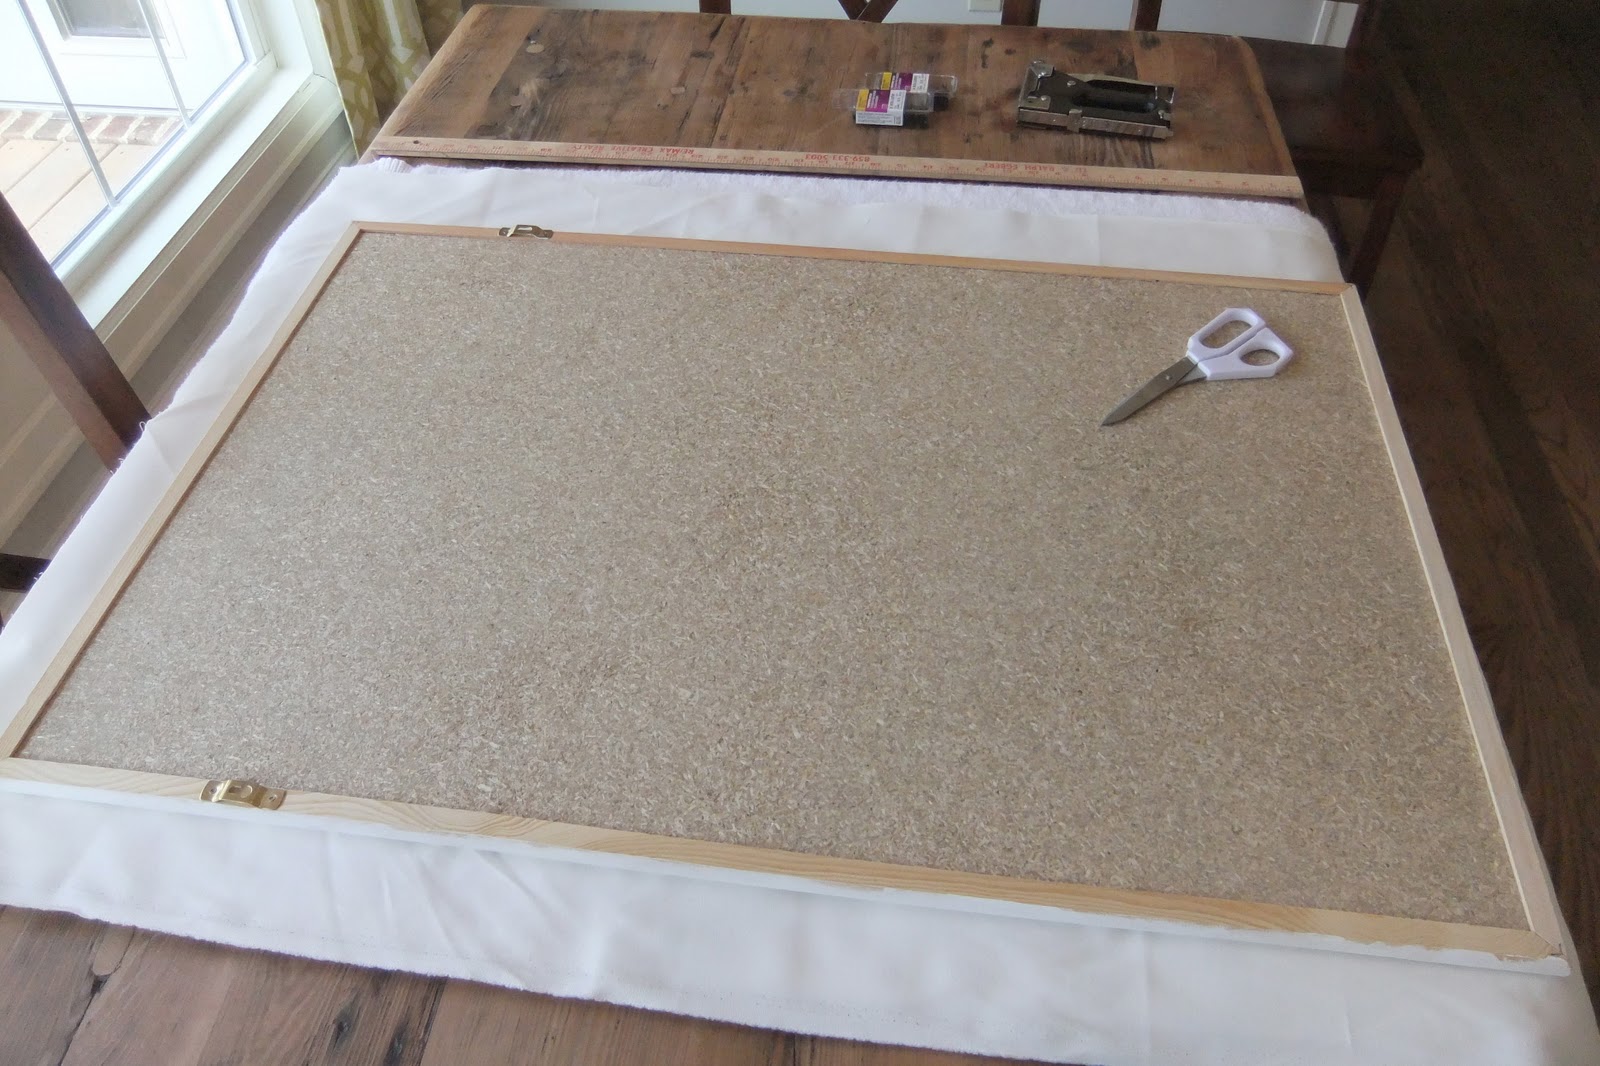
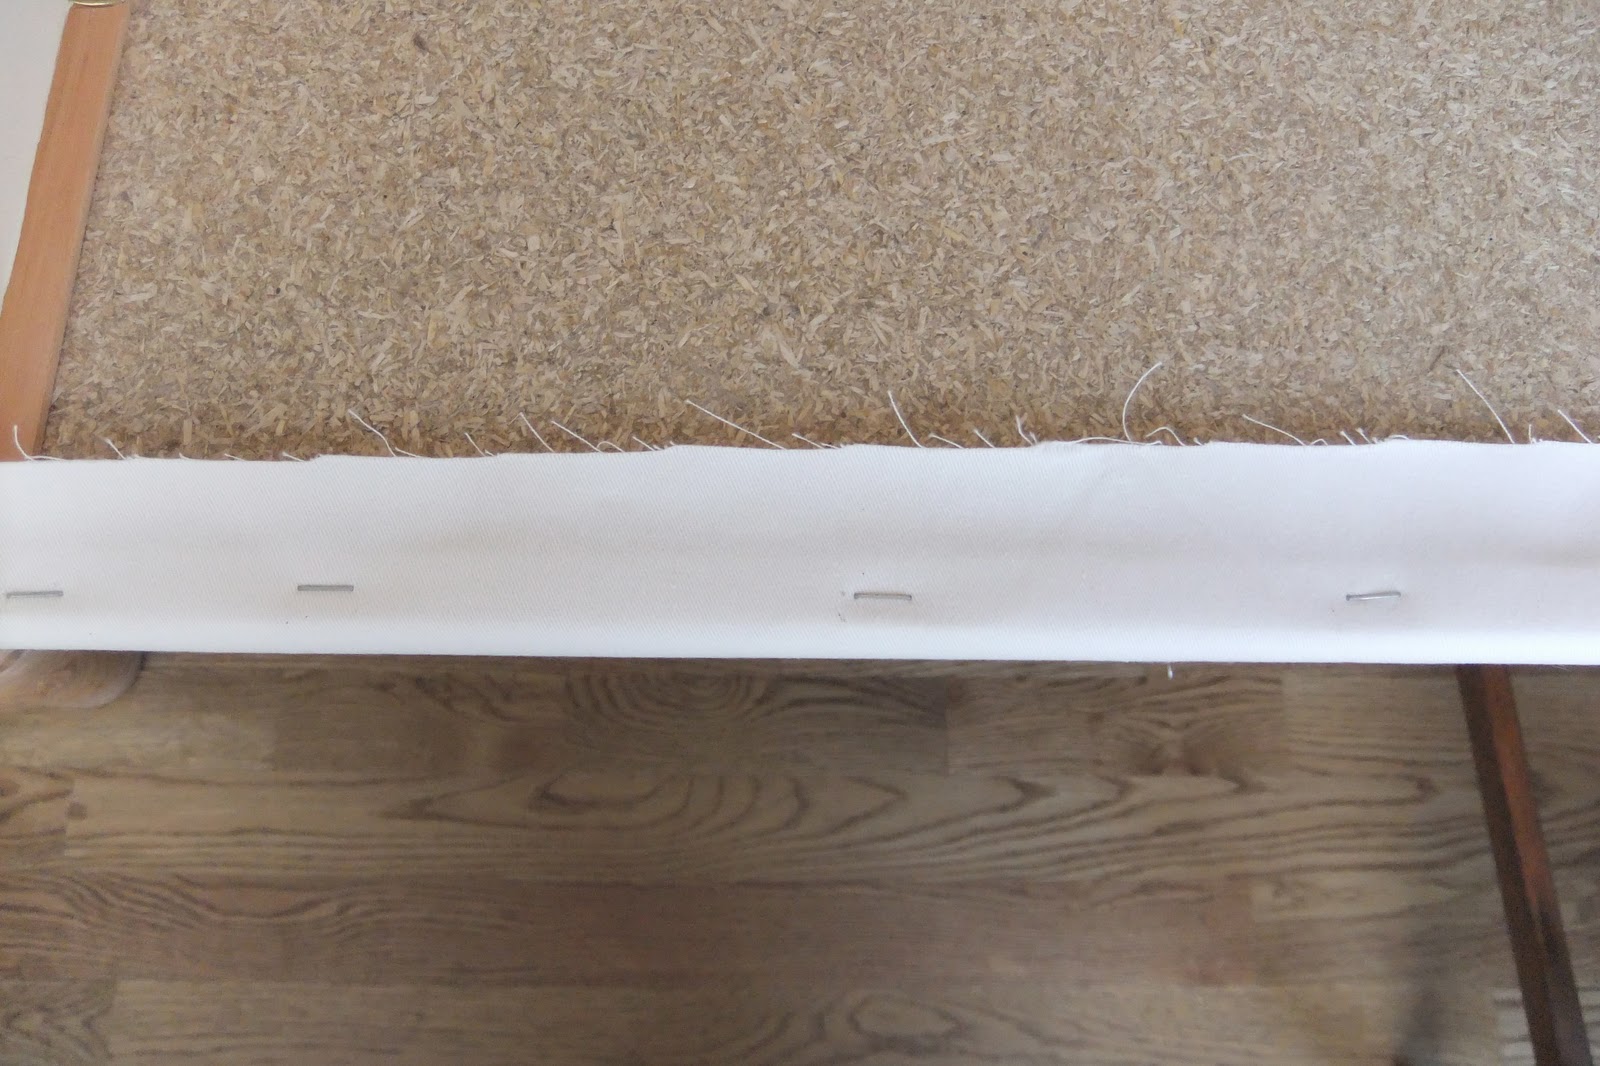
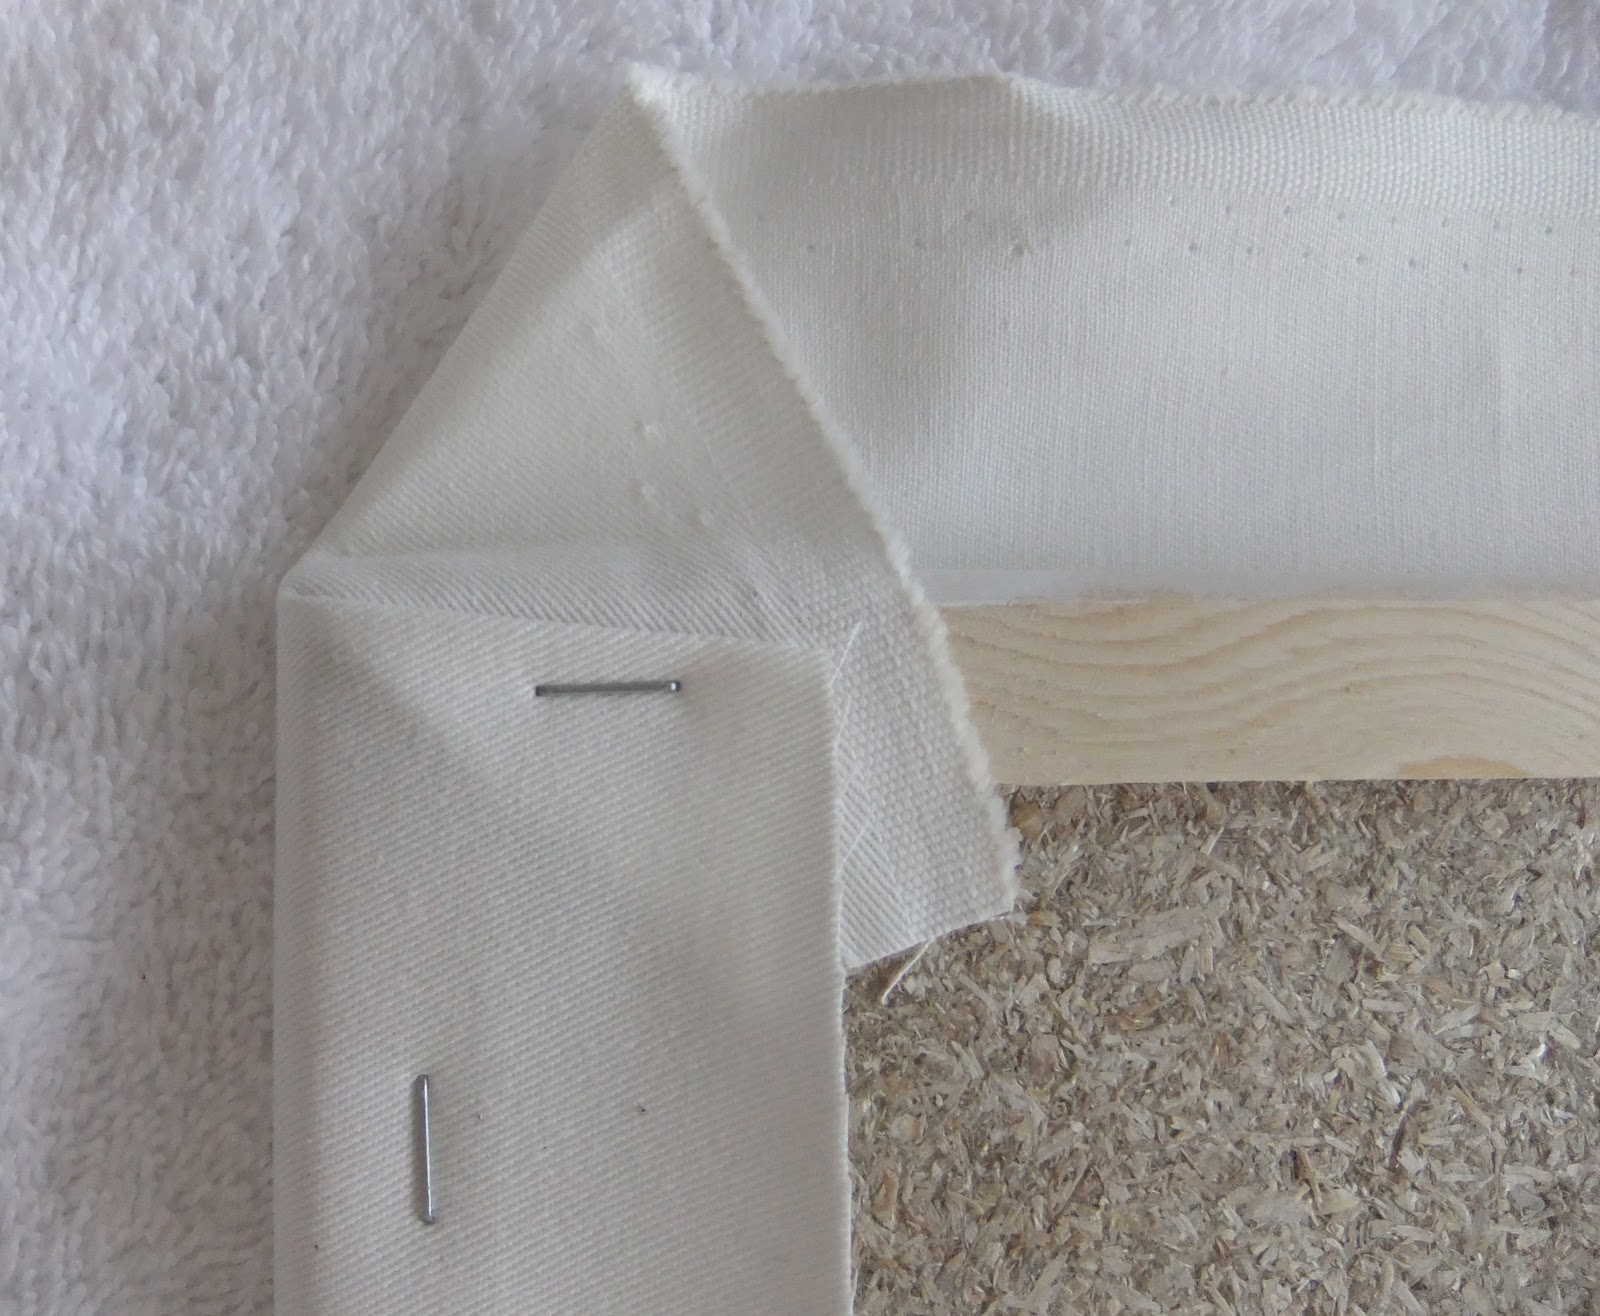
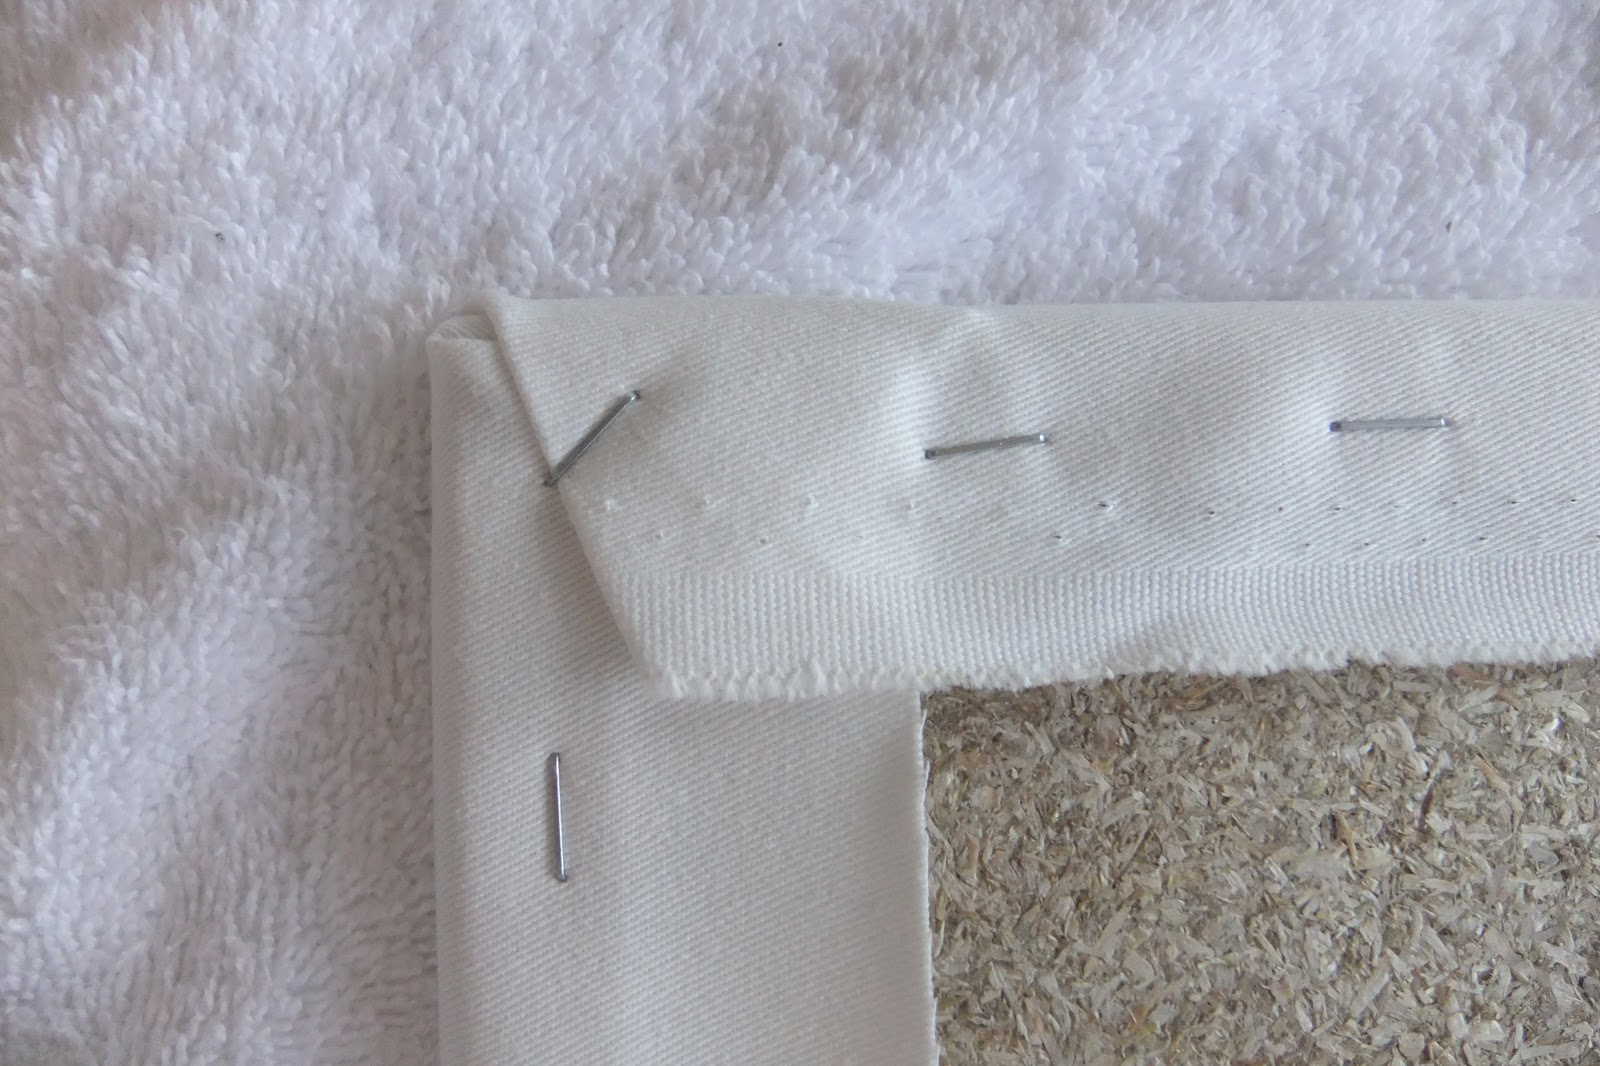
I just started in the middle on one side began stapling. Here is a good pic of how I folded the corners.
All the fabric is stapled. Time to flip it over to make sure it looks right.
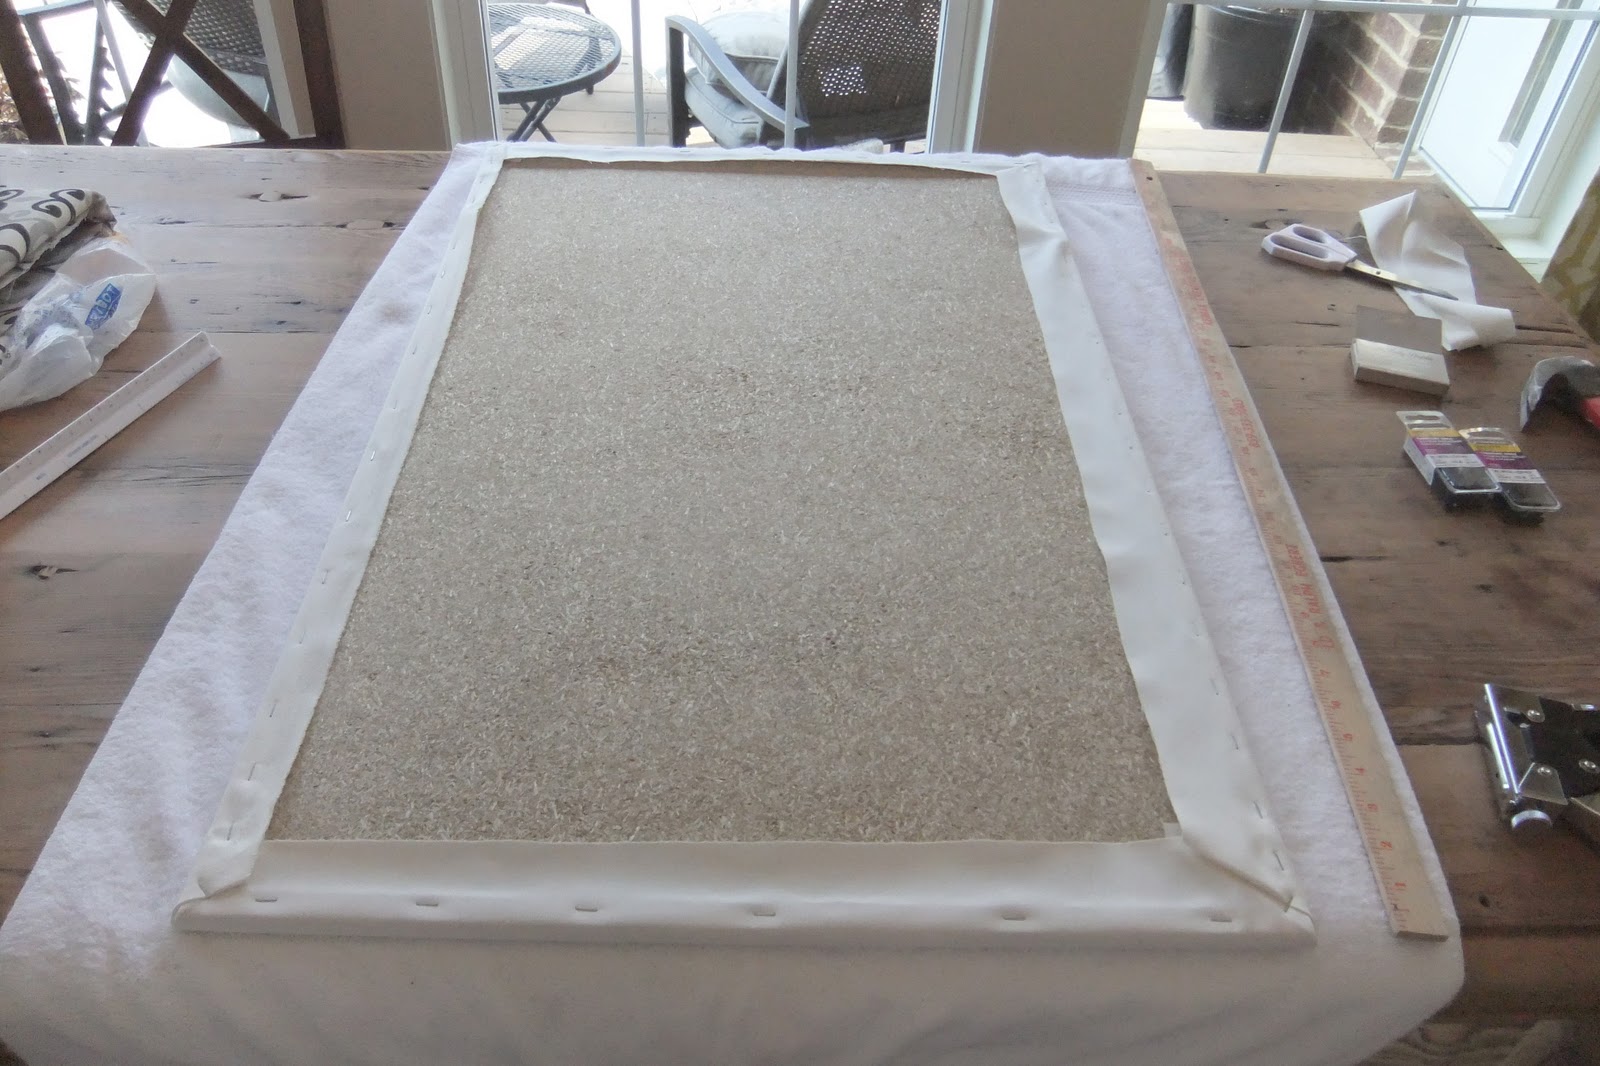
Ta-da...totally covered.

I put the nails in the same way I did the staples. I picked one end and started in the middle.
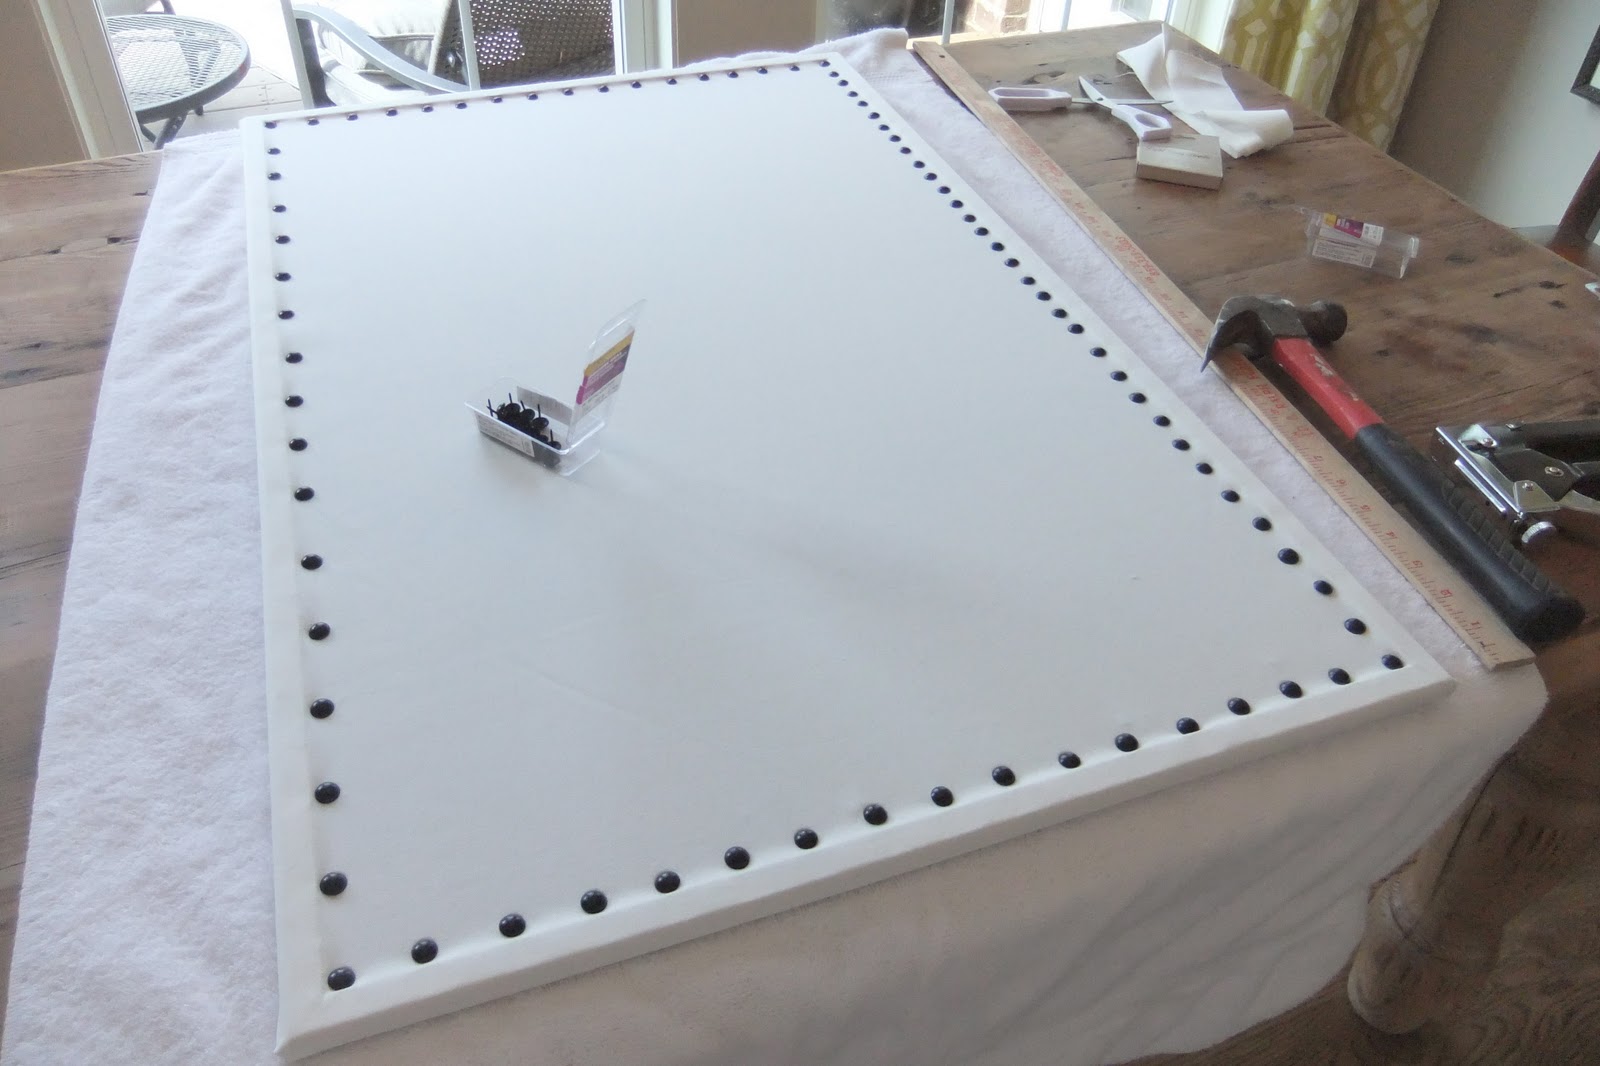
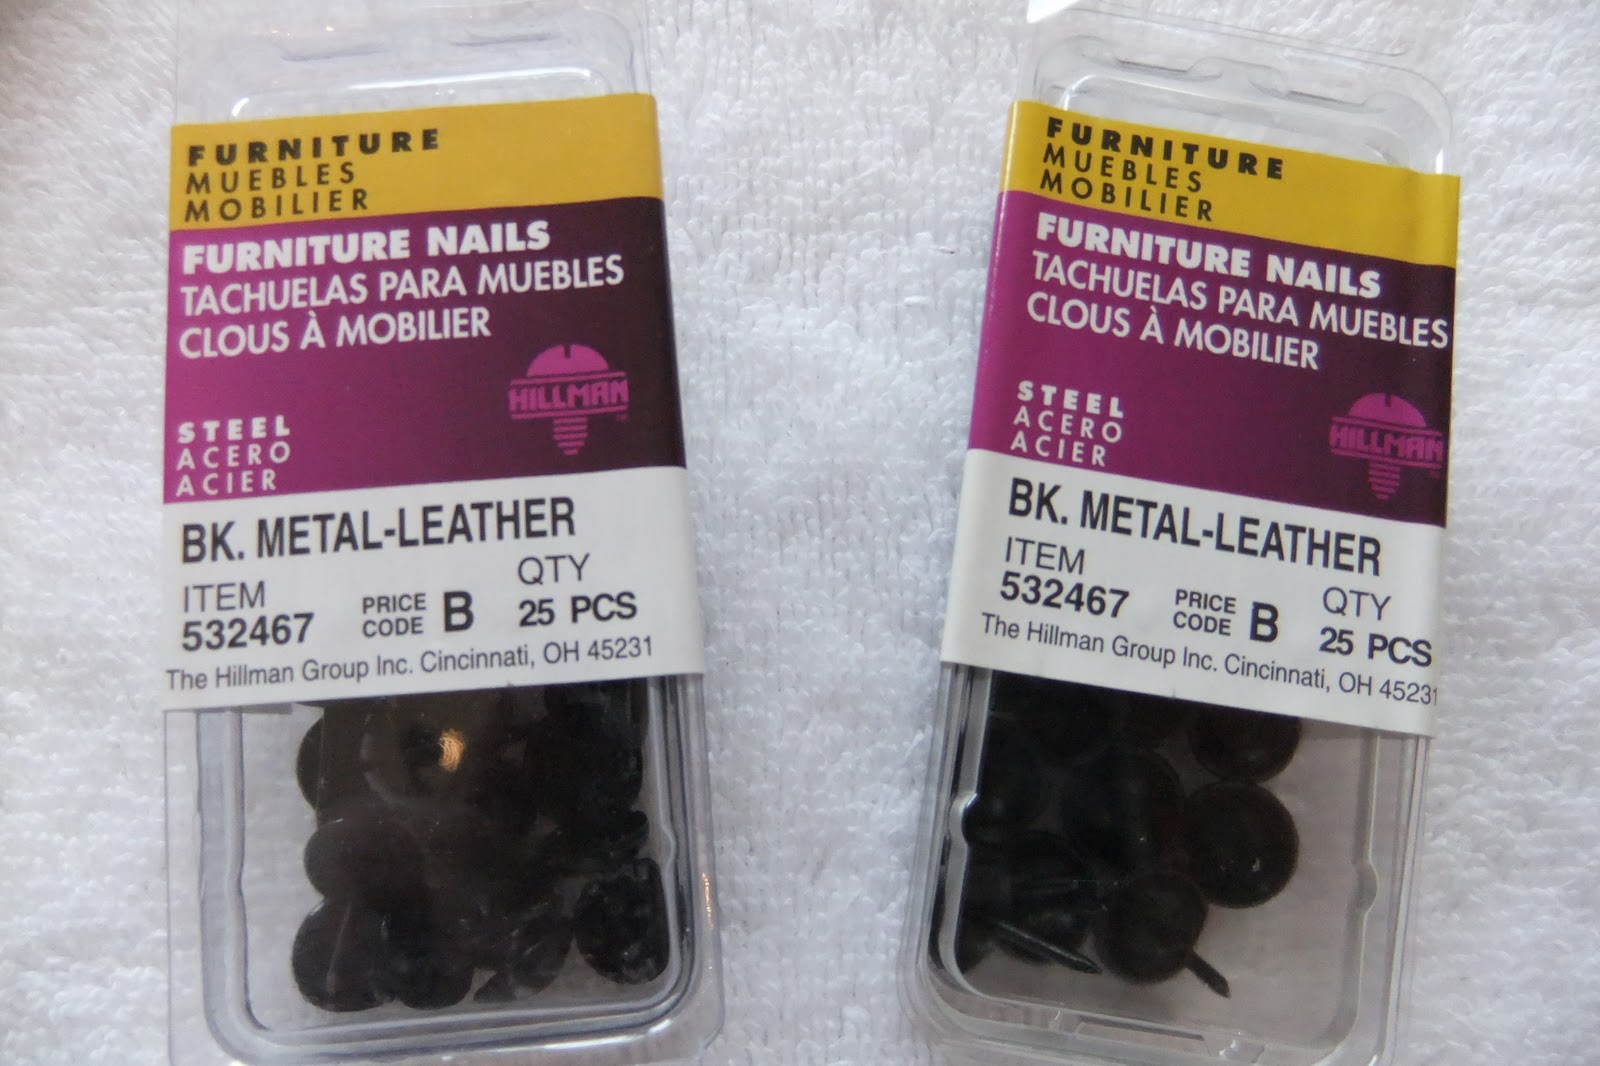
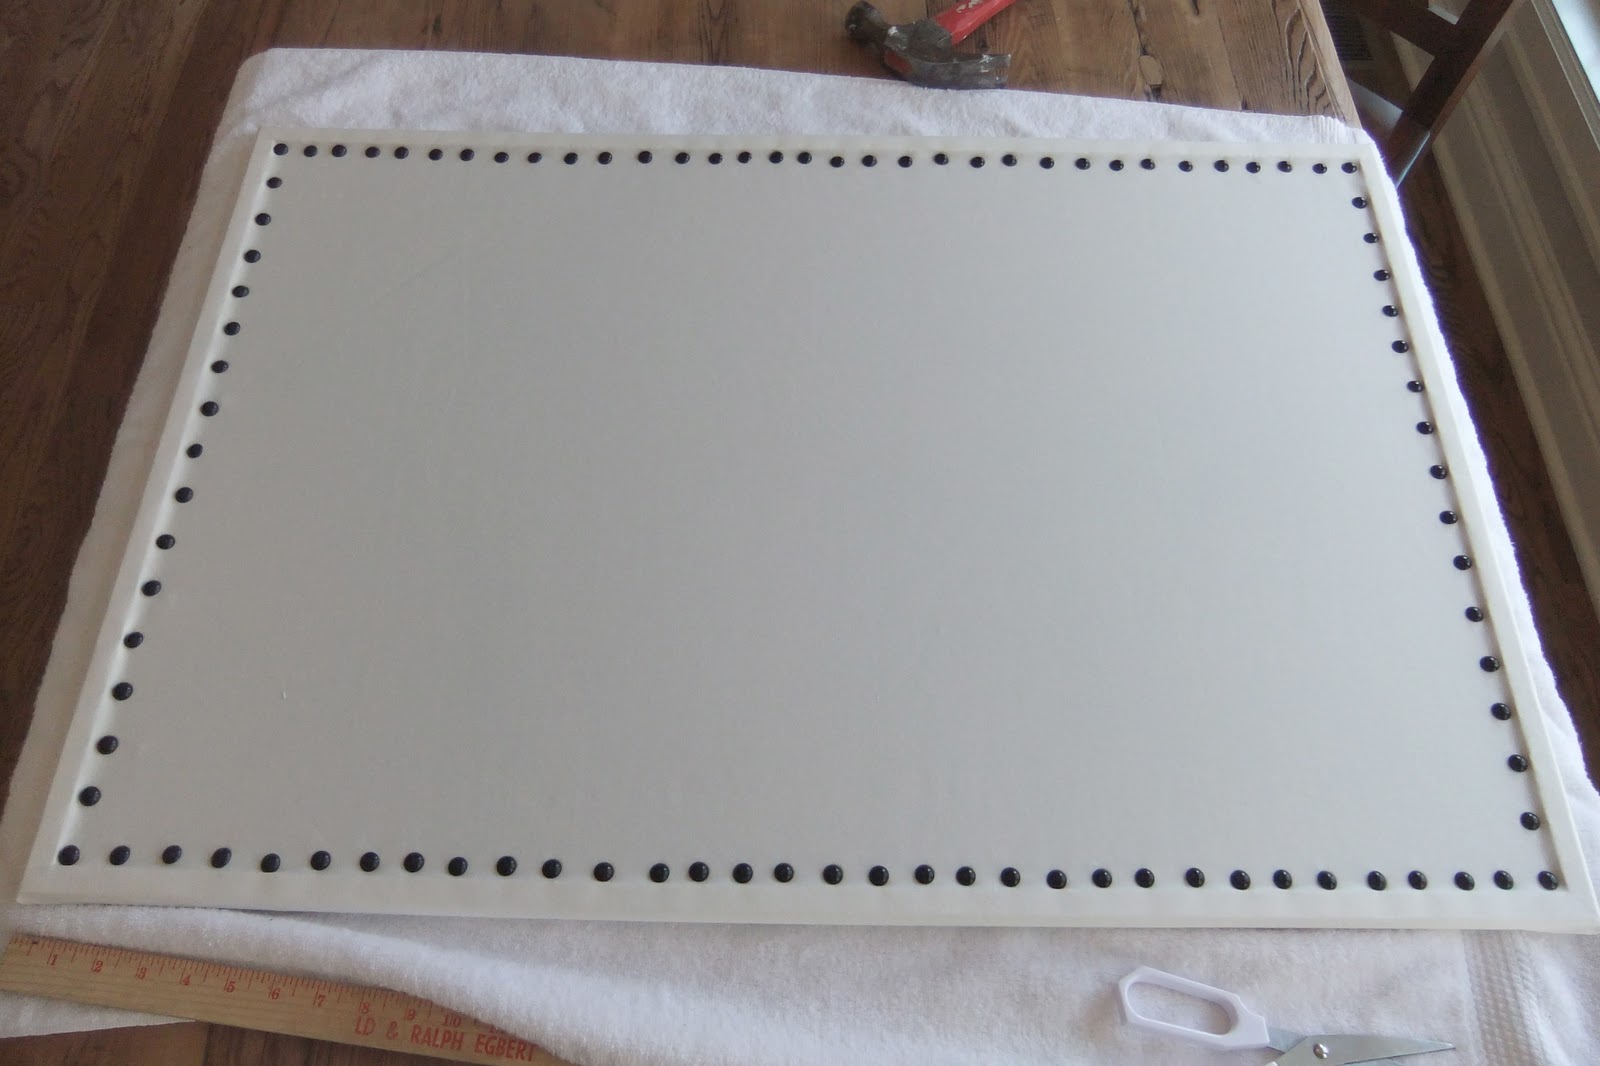
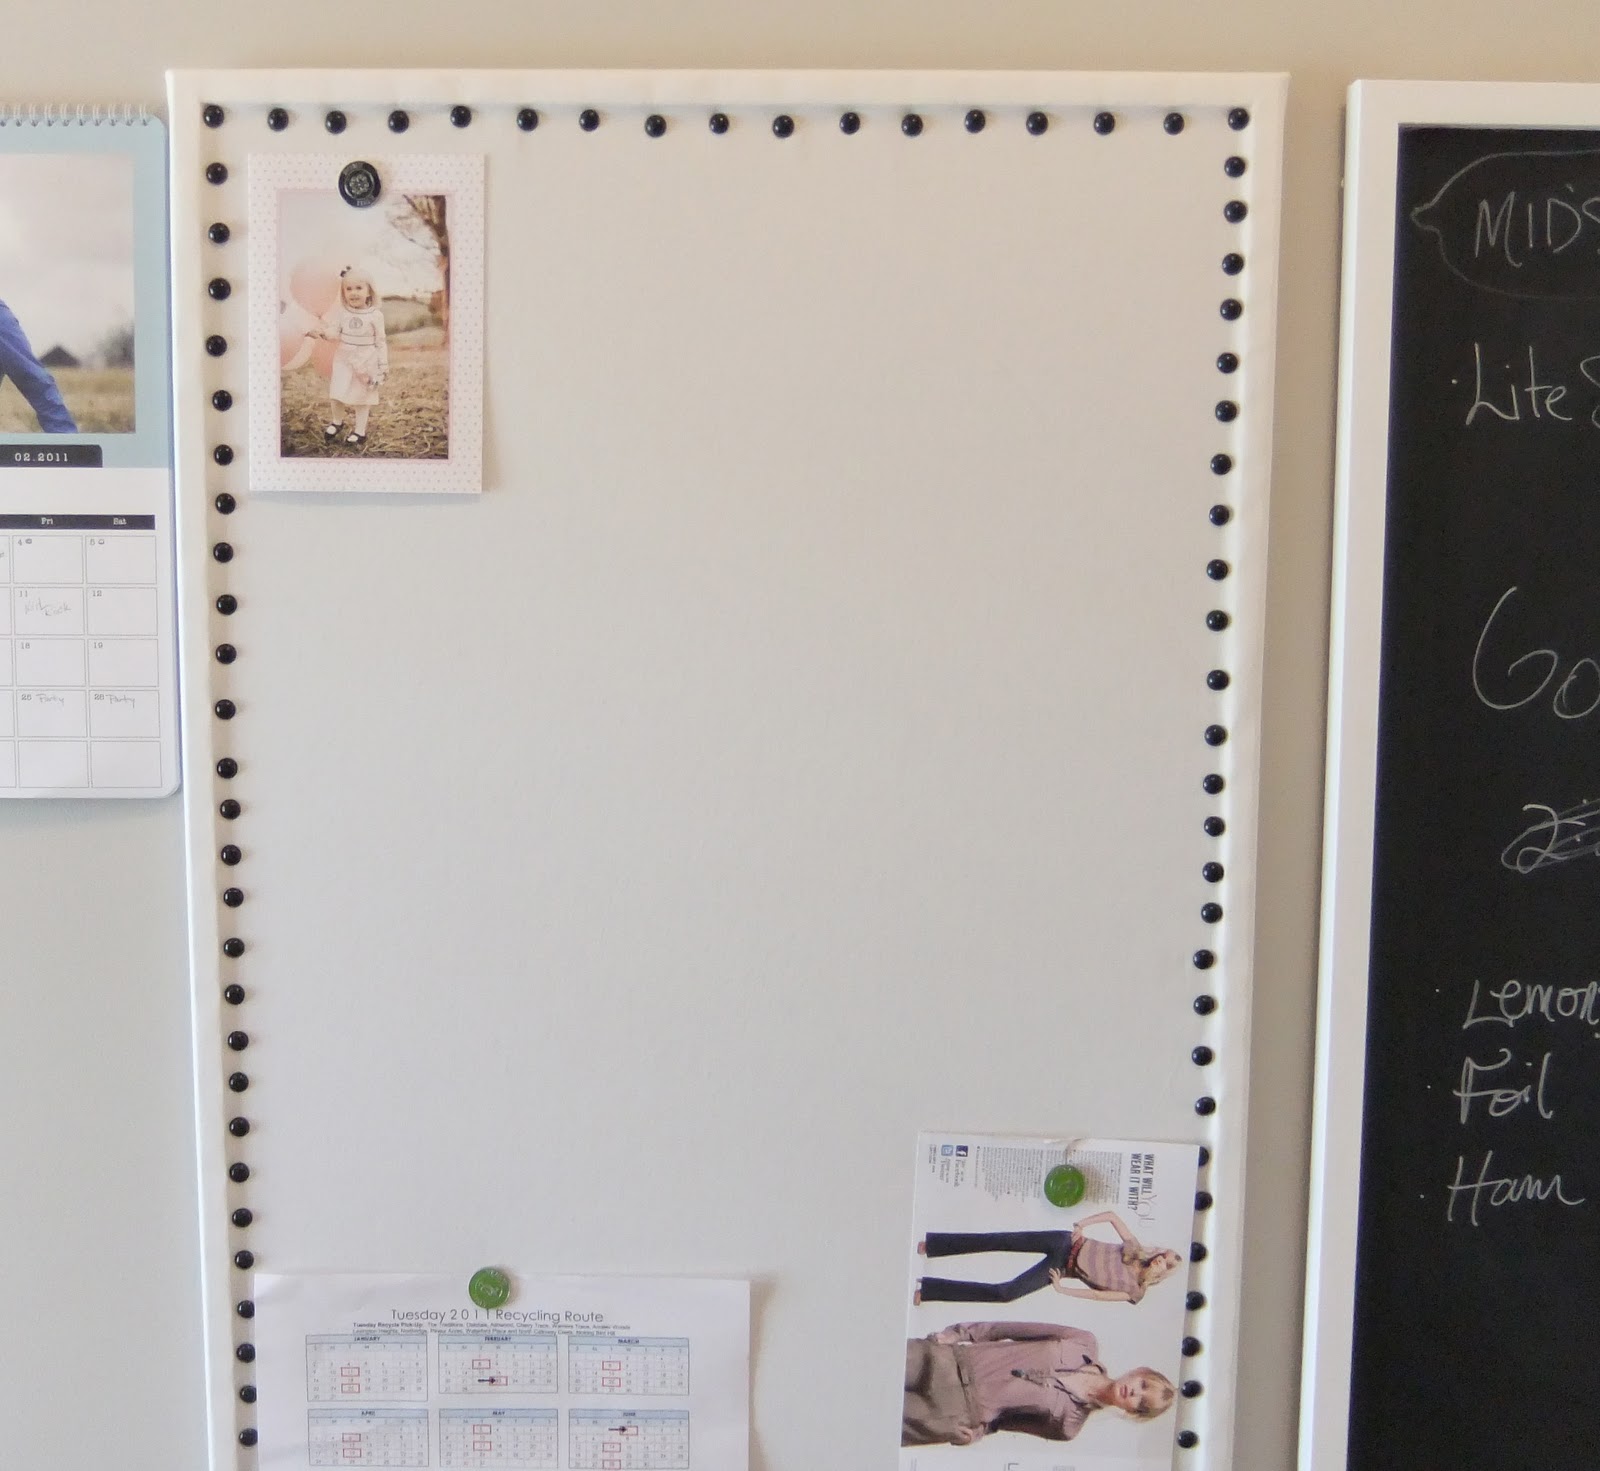
All finished. I used 96 nails.
I really think this looks a ton better. Originally I wanted to use antique brass nails, but Lowe's did not have what I wanted. I went with the black to match the chalkboard. I am glad I did, I really like the black and white combination. It makes both boards look cohesive next to each other.
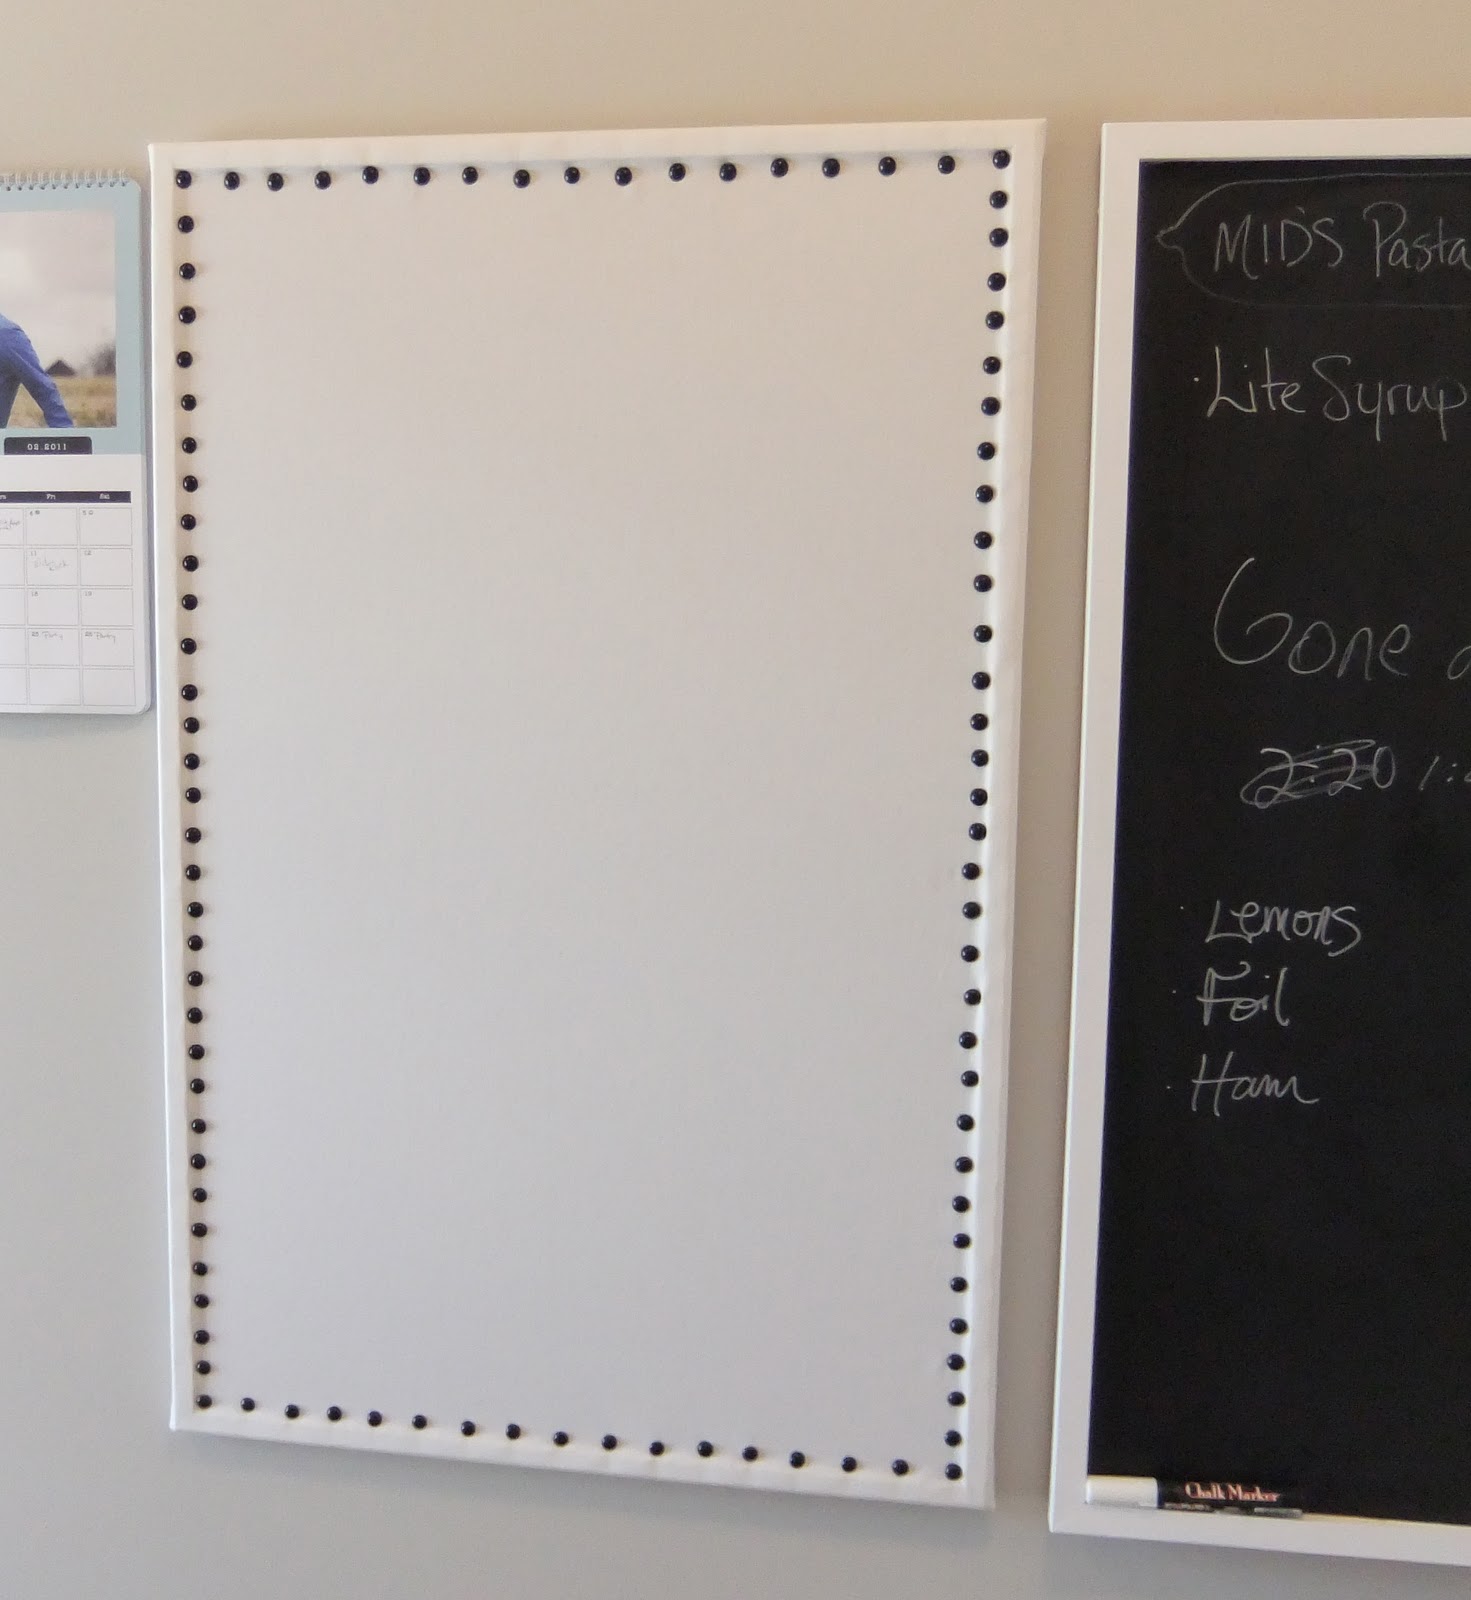
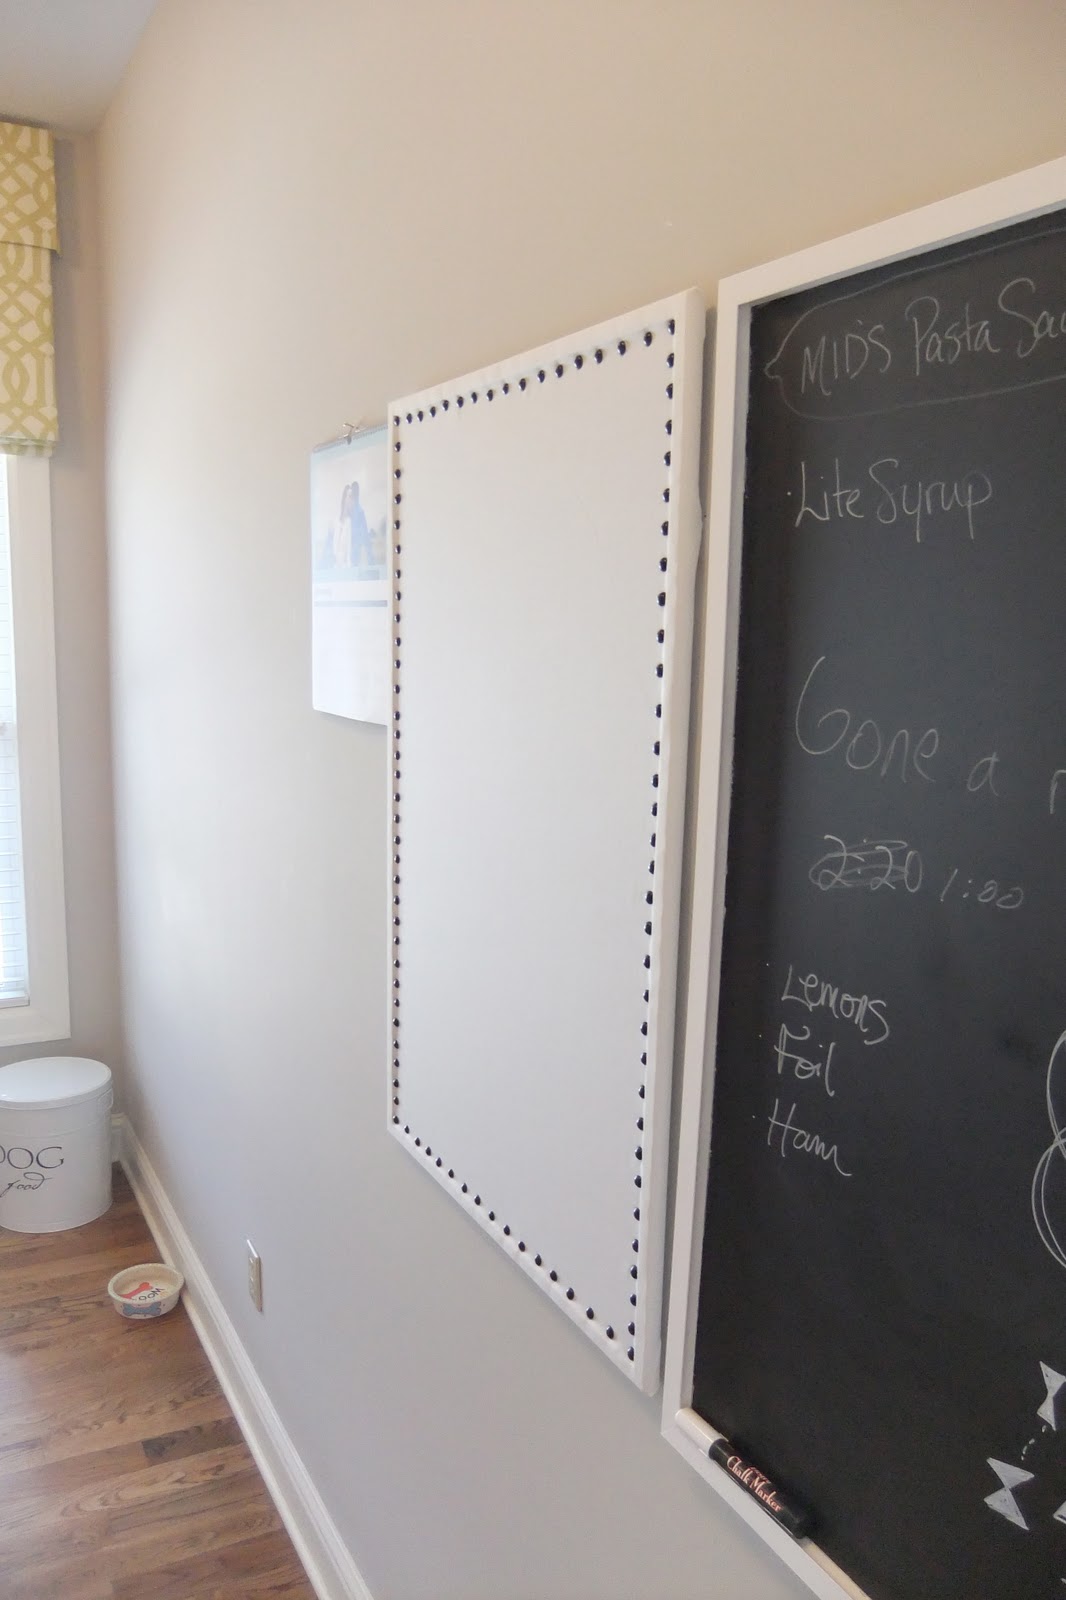
AFTER:
I am really happy with the way this turned out and it was super easy!
Happy Monday everyone! Here's to a great week!
