Showing posts with label DIY Projects. Show all posts

Monday, April 18, 2011

DIY Utility Sink Skirt

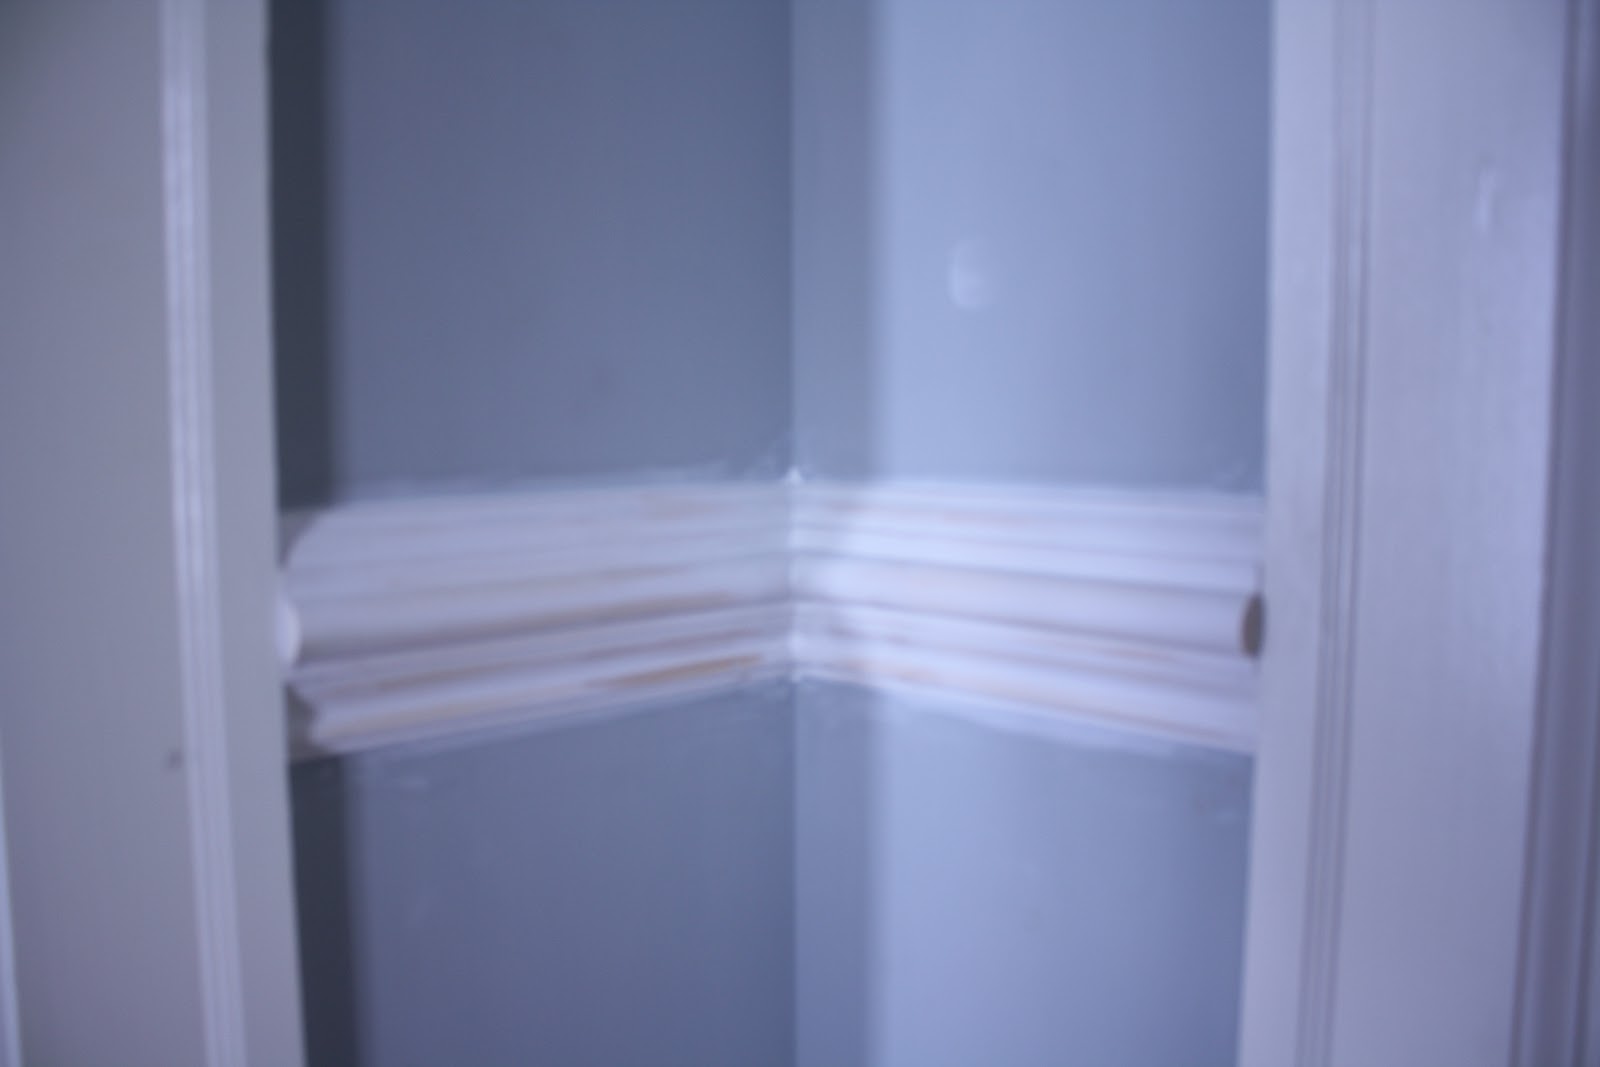
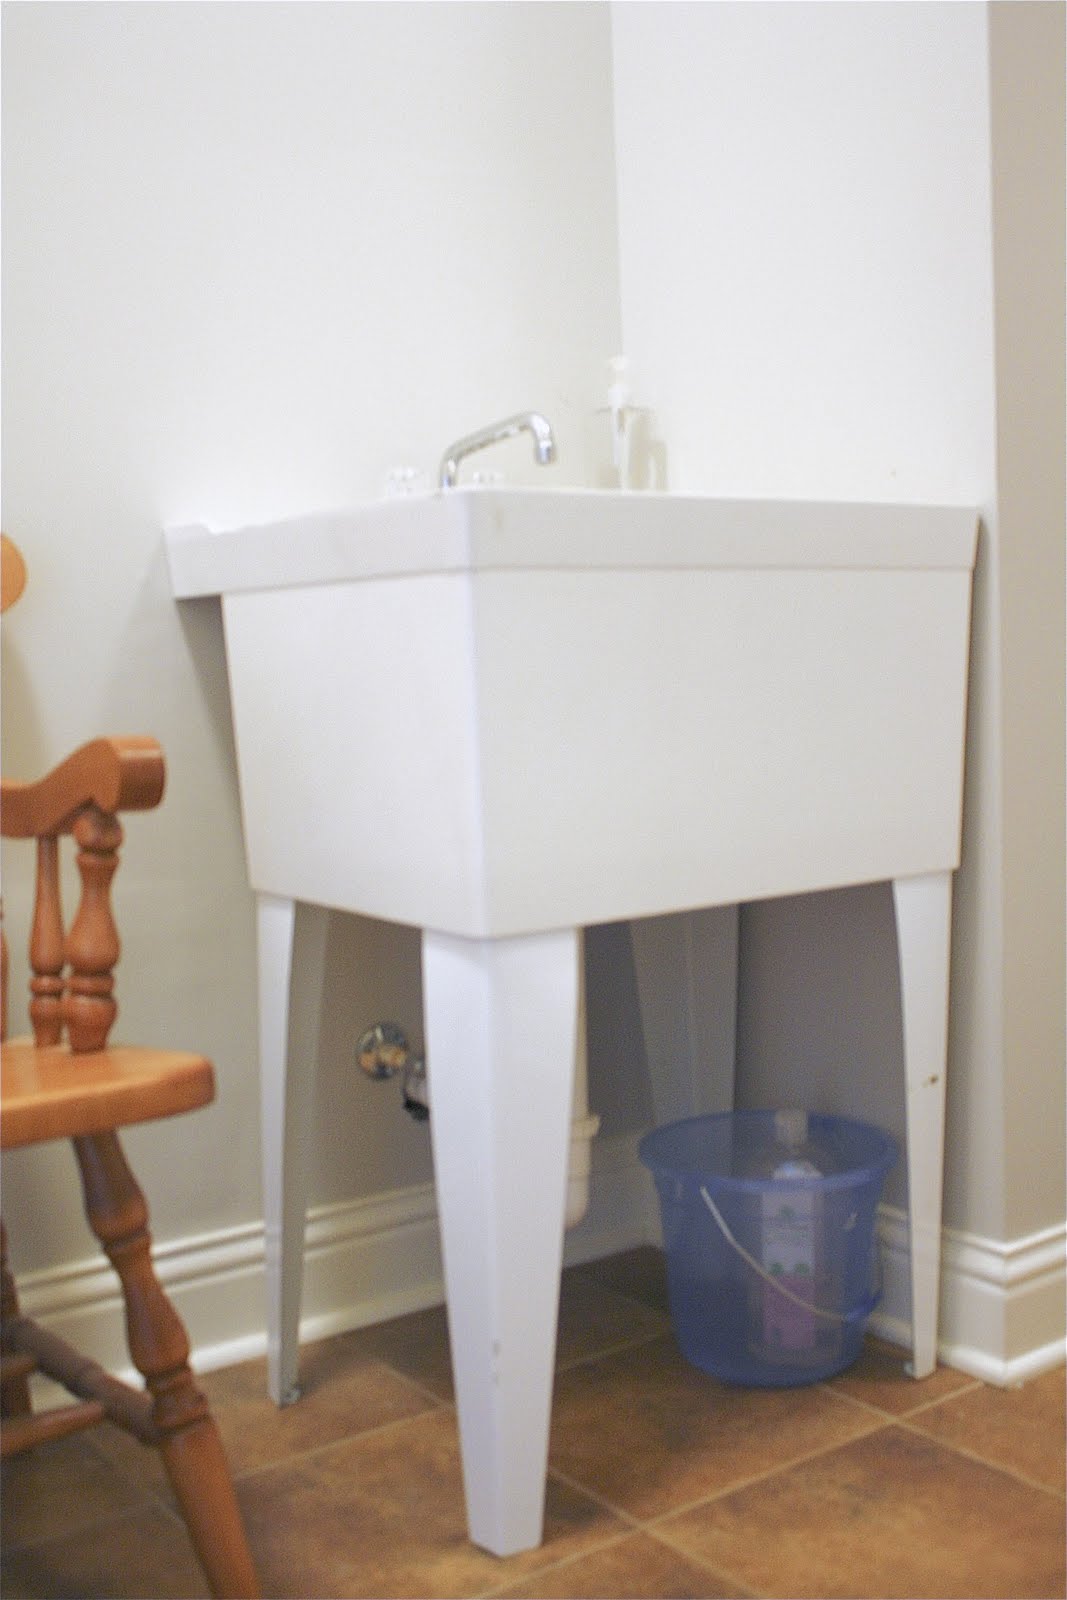
You have most likely already seen this, but I needed to post the diy to put it in my "DIY" projects. I was tired of looking at the unsightly plumbing and cleaning bucket under the unattractive builder’s grade utility sink in my laundry room.  

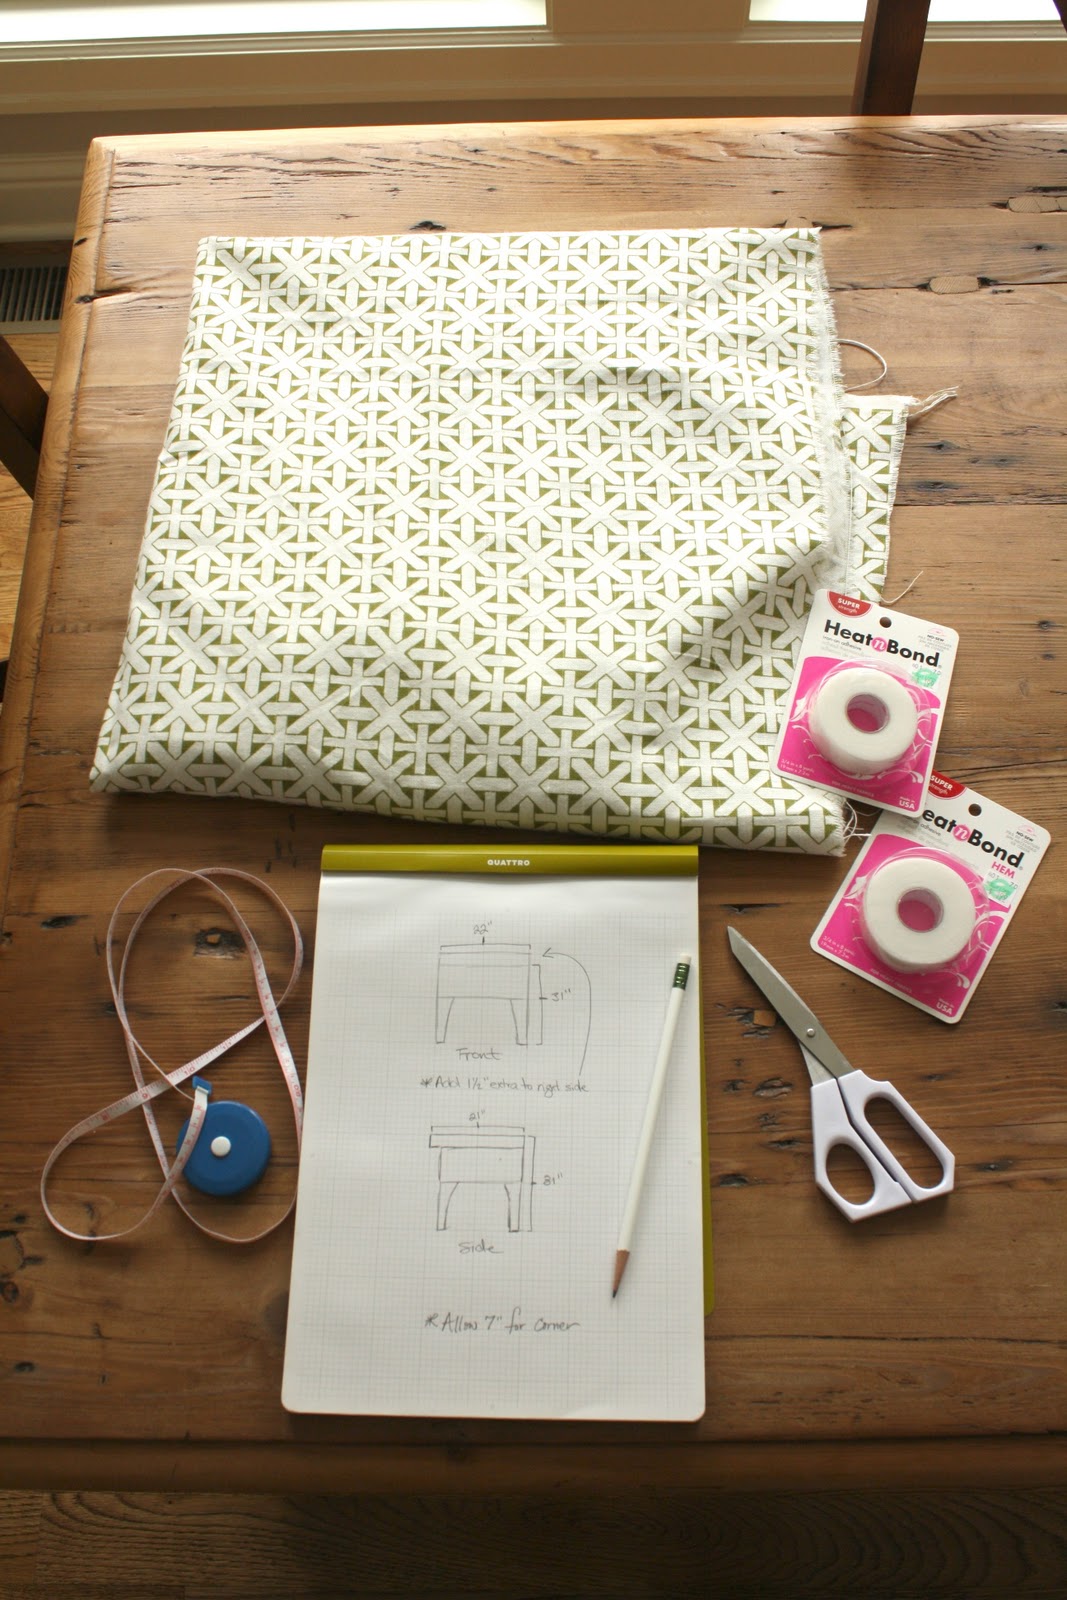
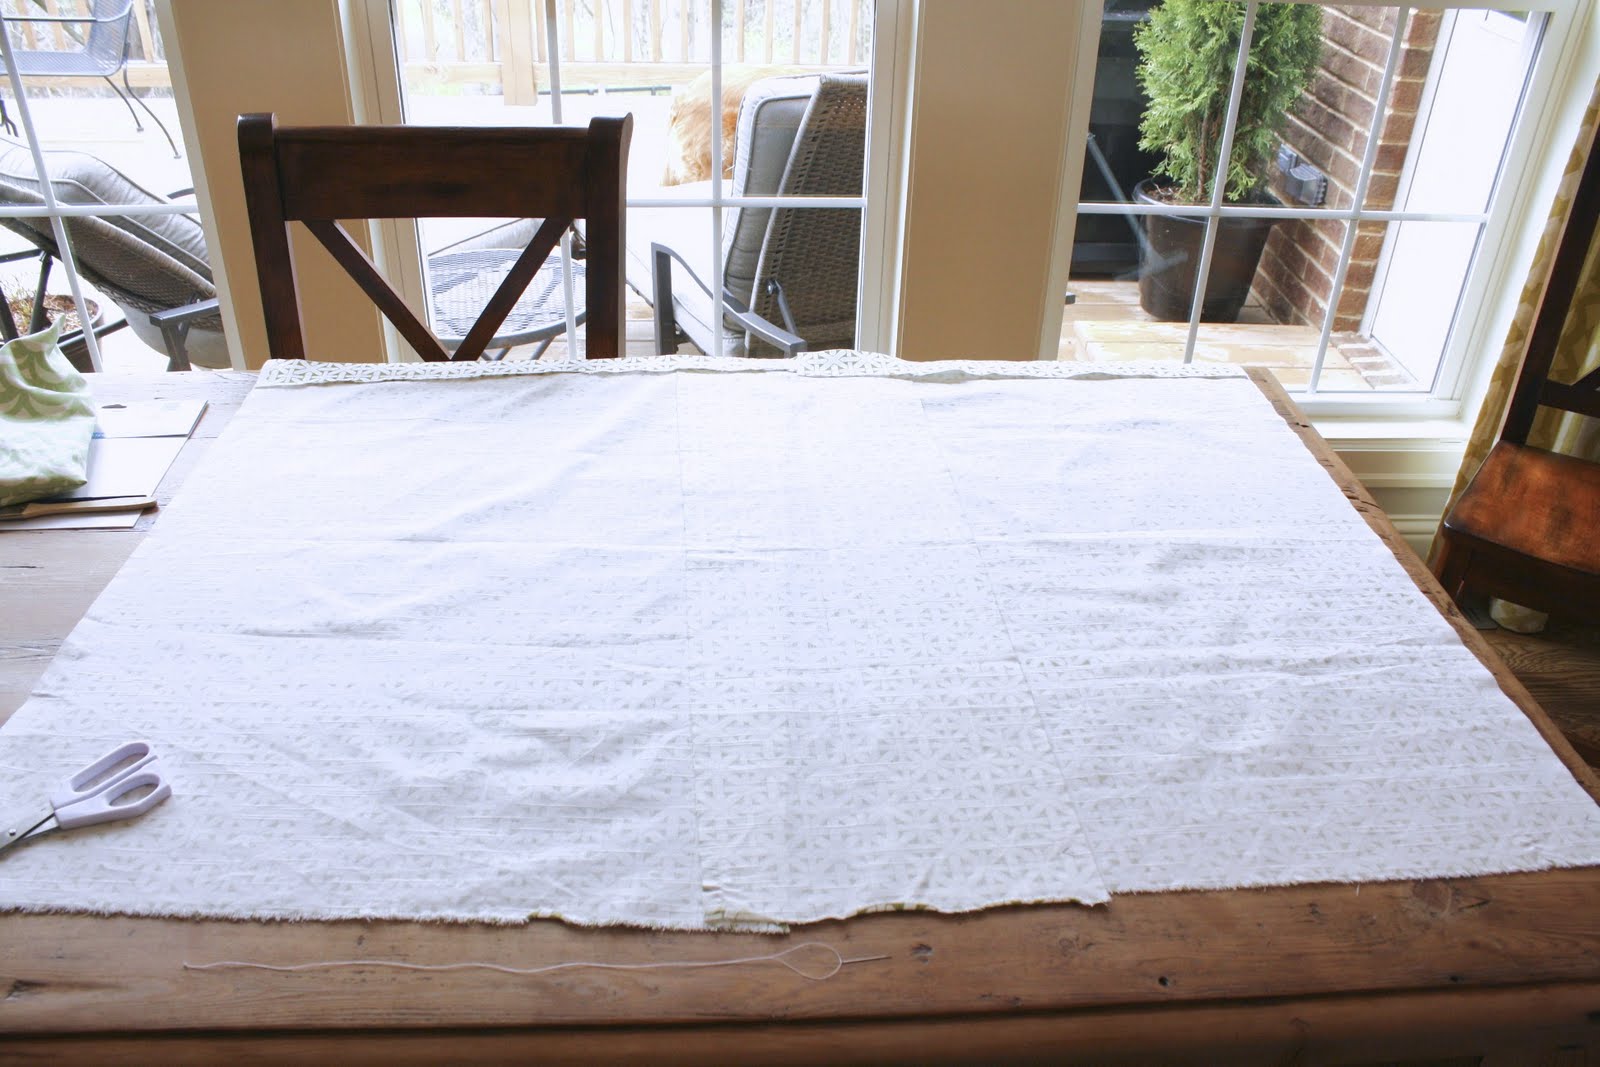
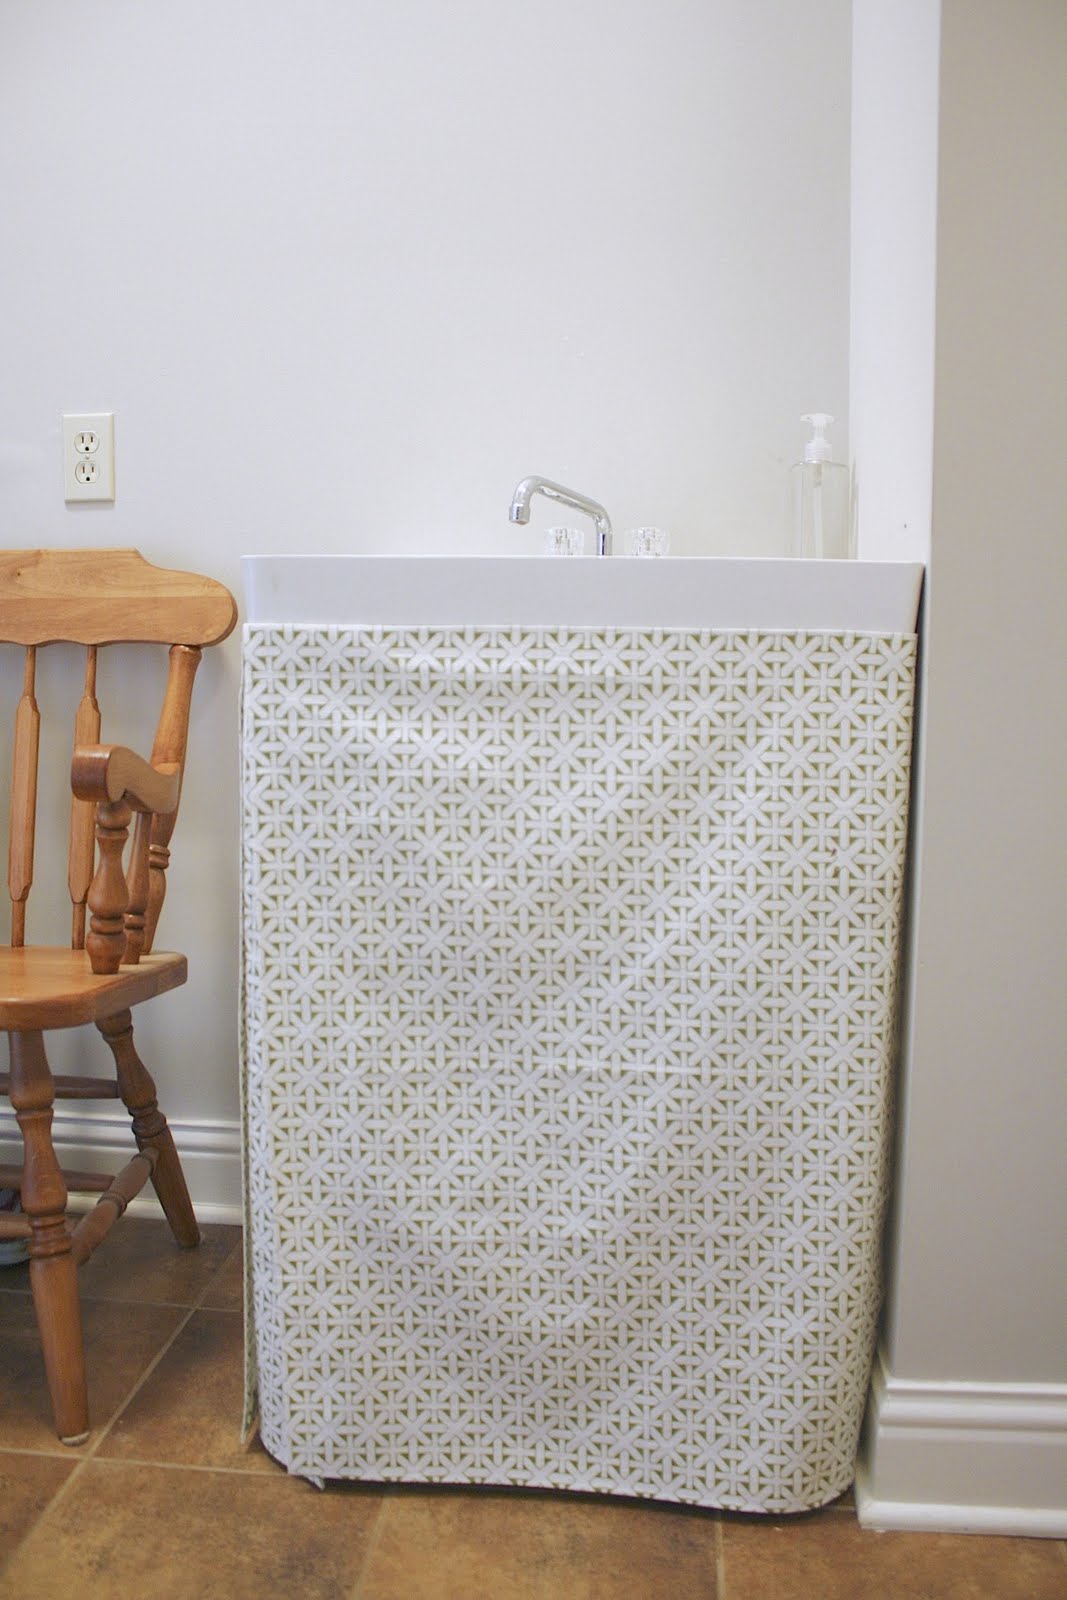
I decided to make a “no sew” skirt to hide the bottom half of the sink. I paid $8.48 for 3/4 yard of fabric in a geometric print.  First, I measured the sink and to see how much fabric I needed for the front, side and corner panel.  I wanted the skirt to look custom and have easy access to the cleaning bucket underneath.
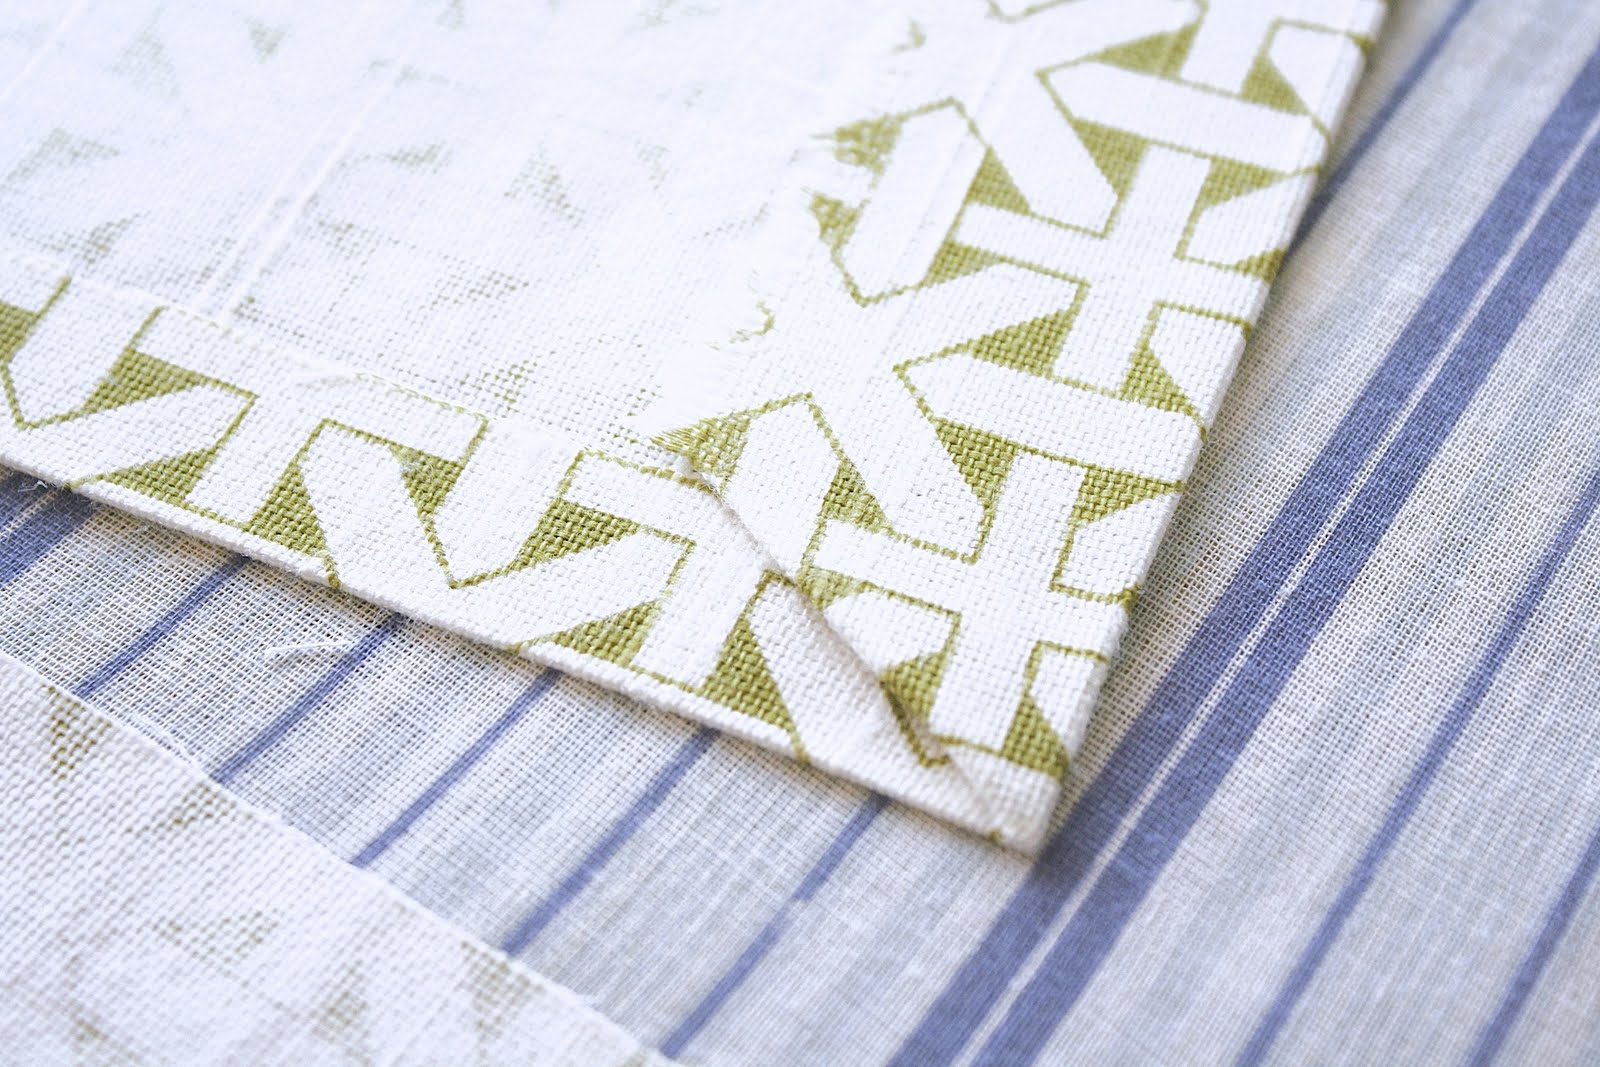
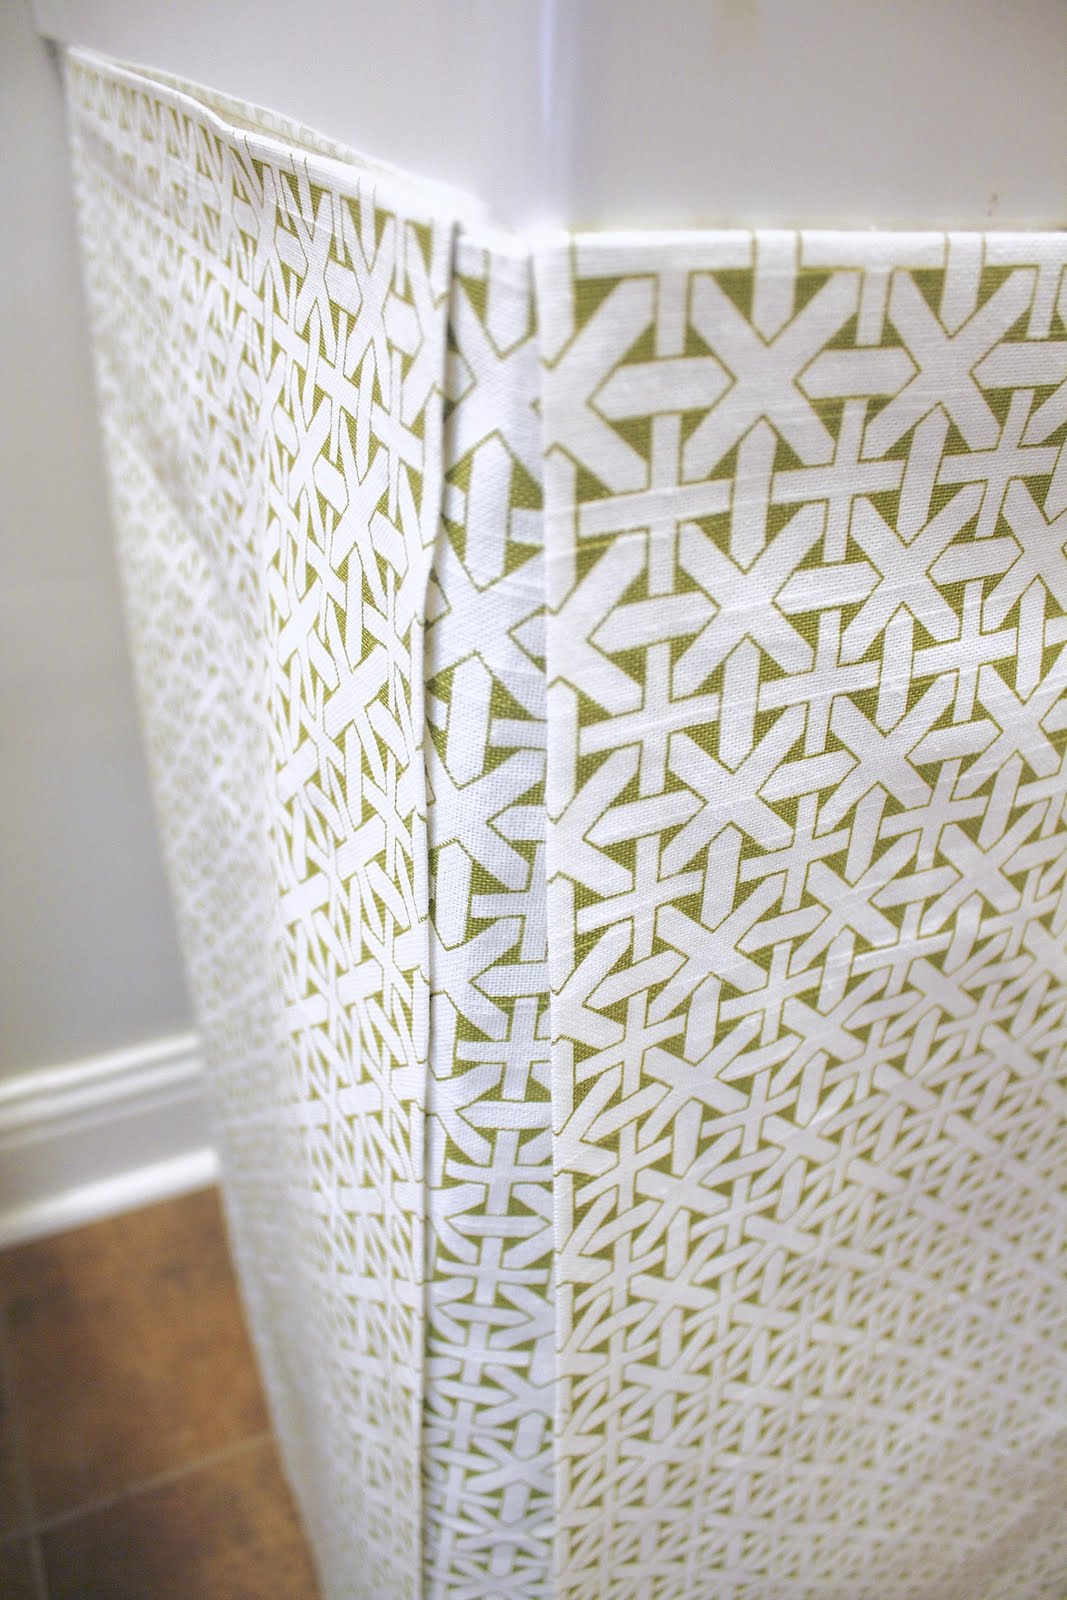
Once I had my measurements, I cut the fabric into three separate pieces.  I applied the “no sew” hem to the corner piece first, then I started hemming the front and side panels.  I had to allow room to overlap the top hem over the corner piece that I had already hemmed.  
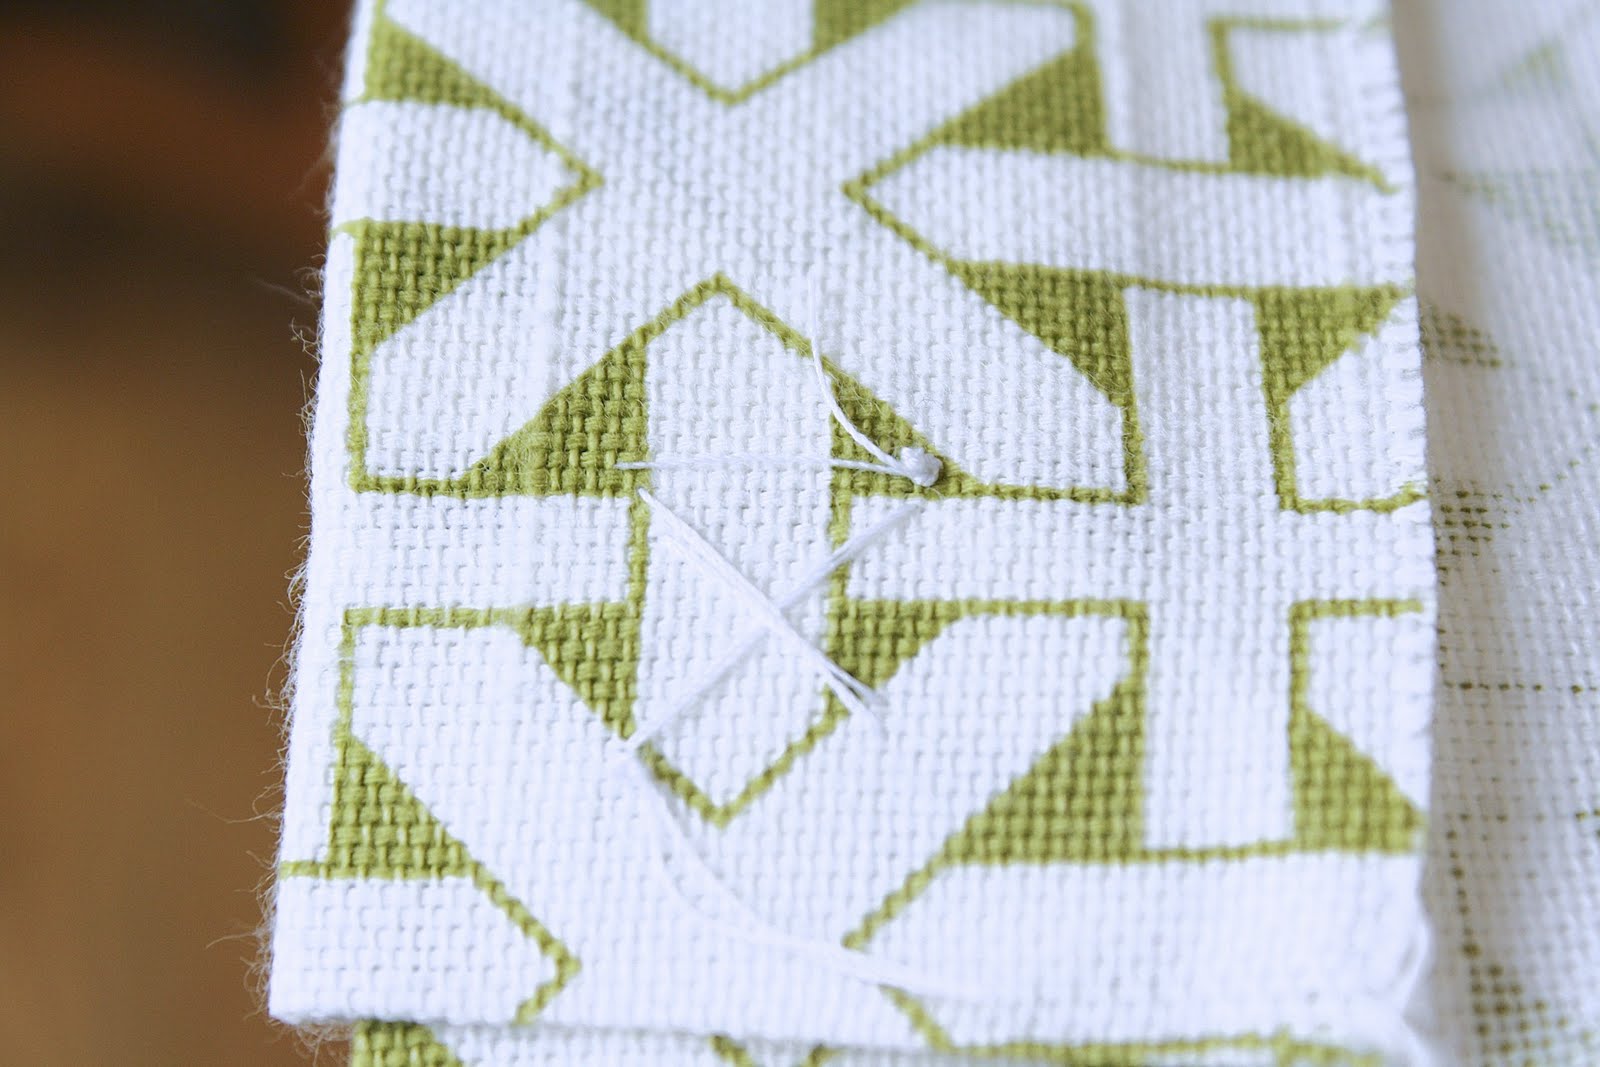
I did whip out a few real stitches to reinforce the fabric where the pieces met as added security.  This is the only place I used a needle and thread.

I finished hemming the bottom of the skirt.

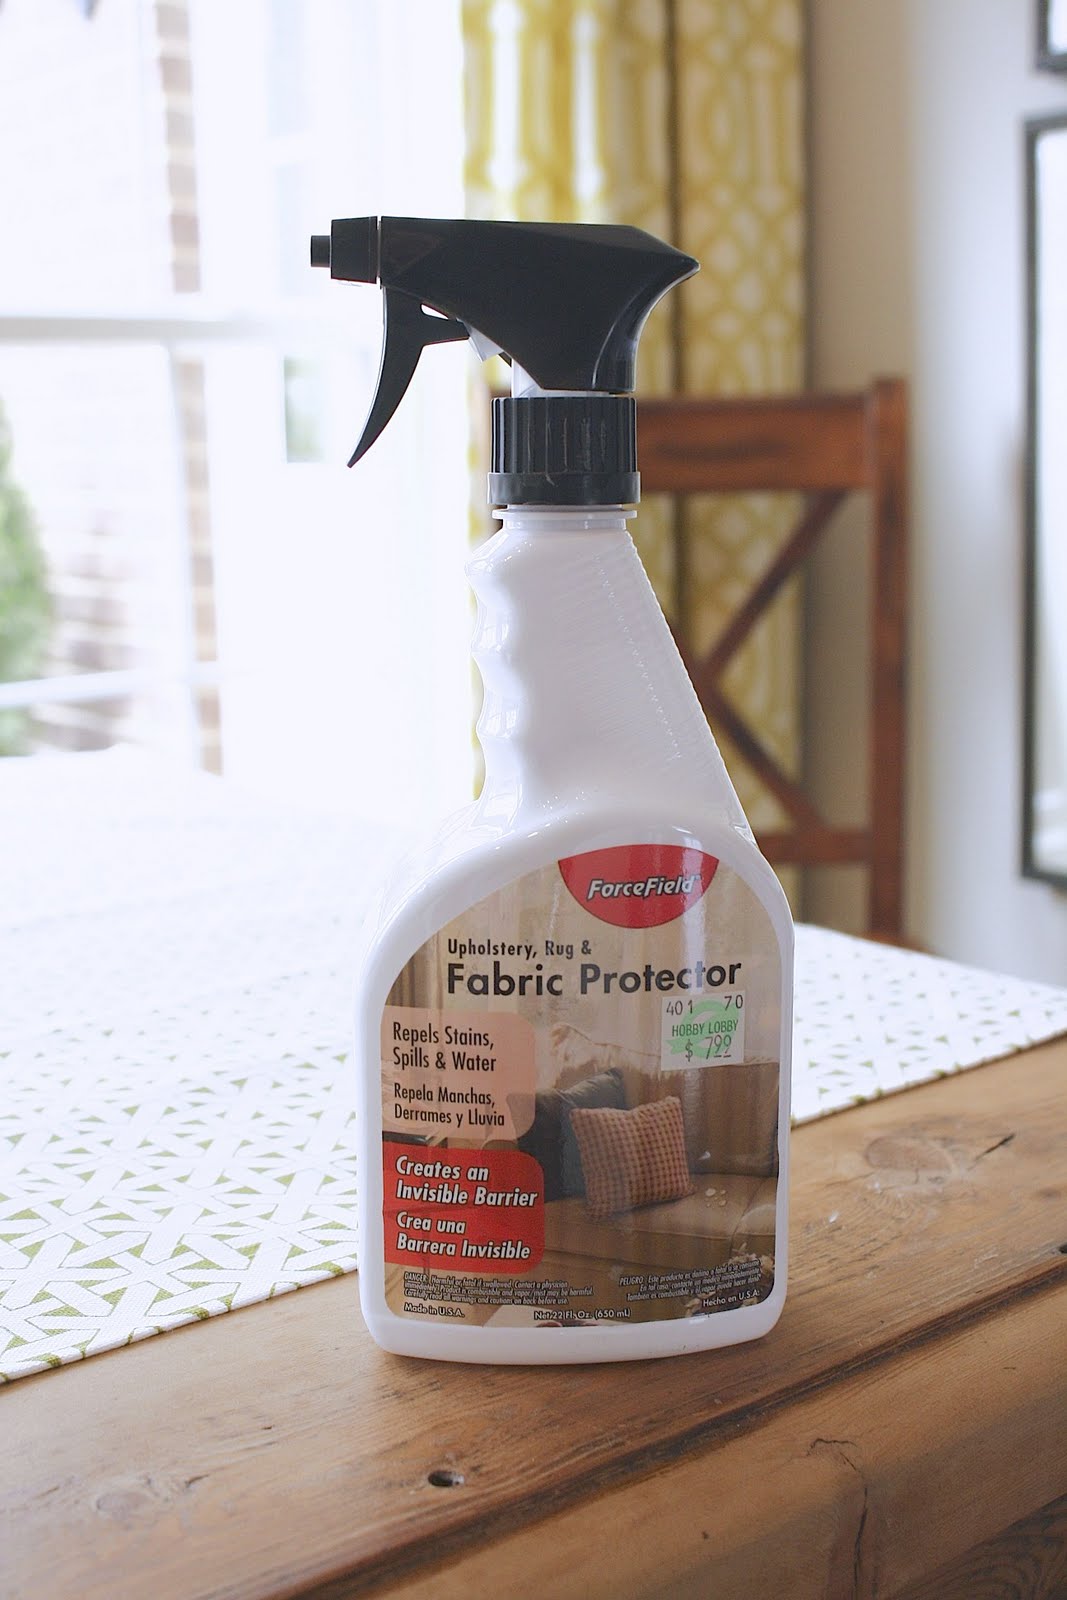
I wanted to protect the fabric from spills and dirt.  I applied this fabric protector spray.

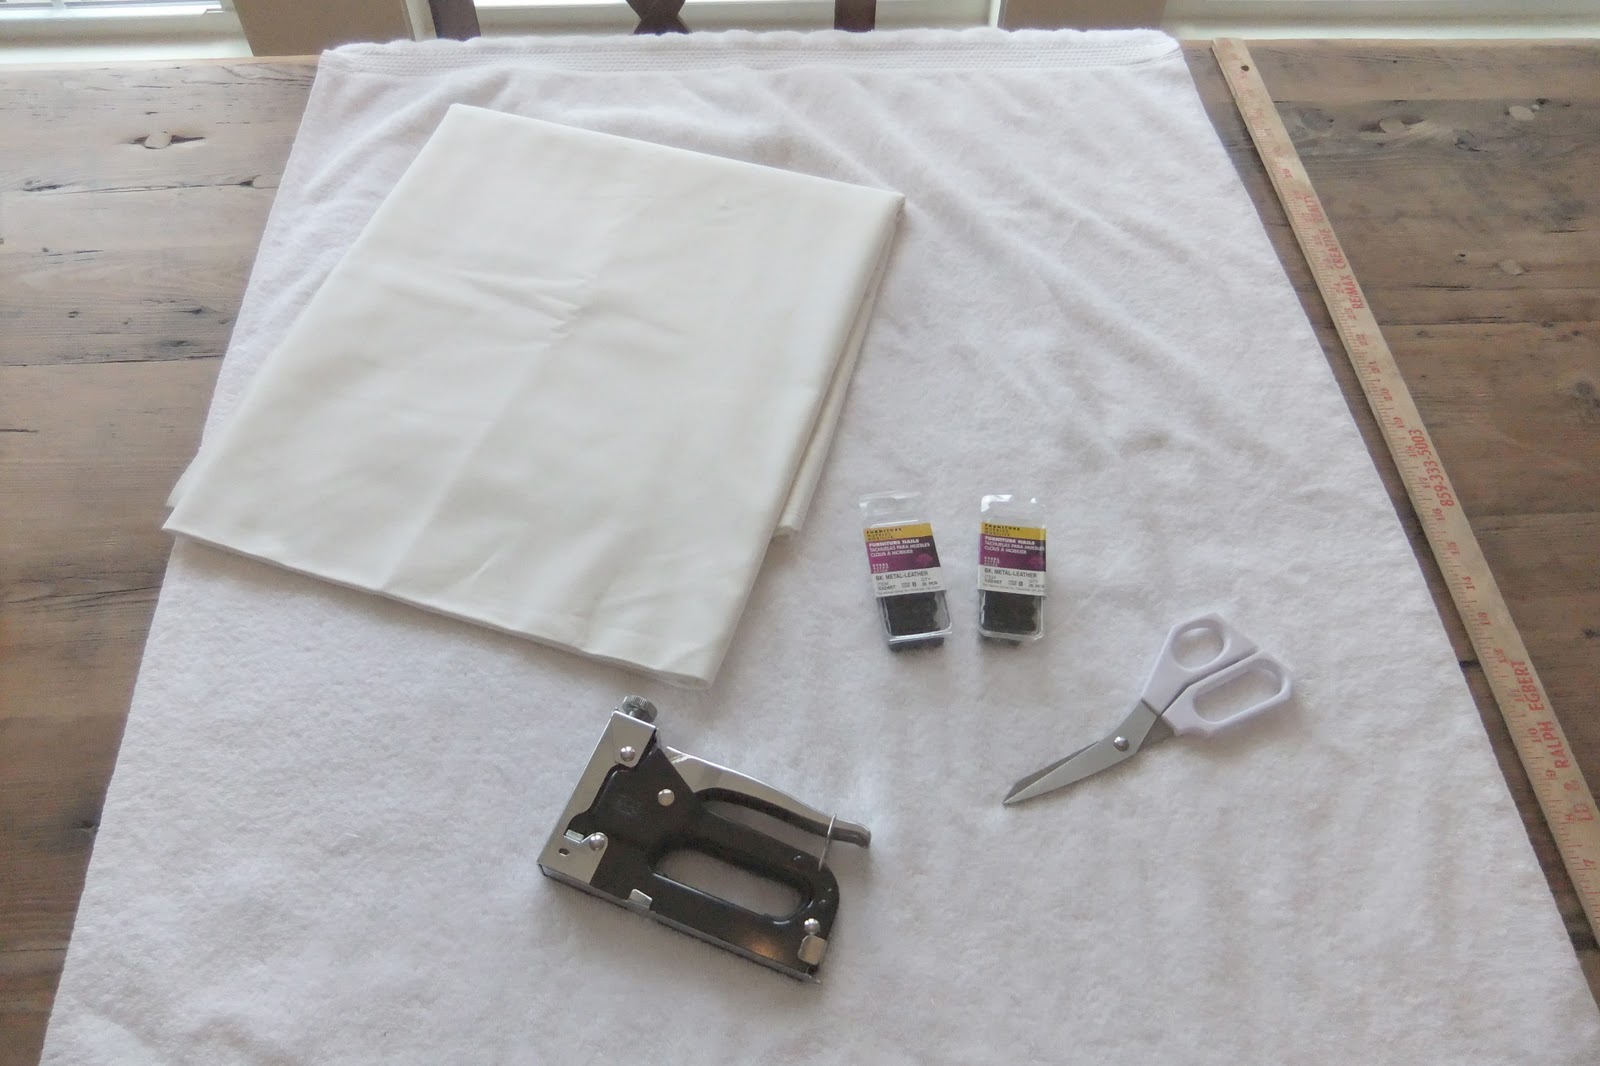
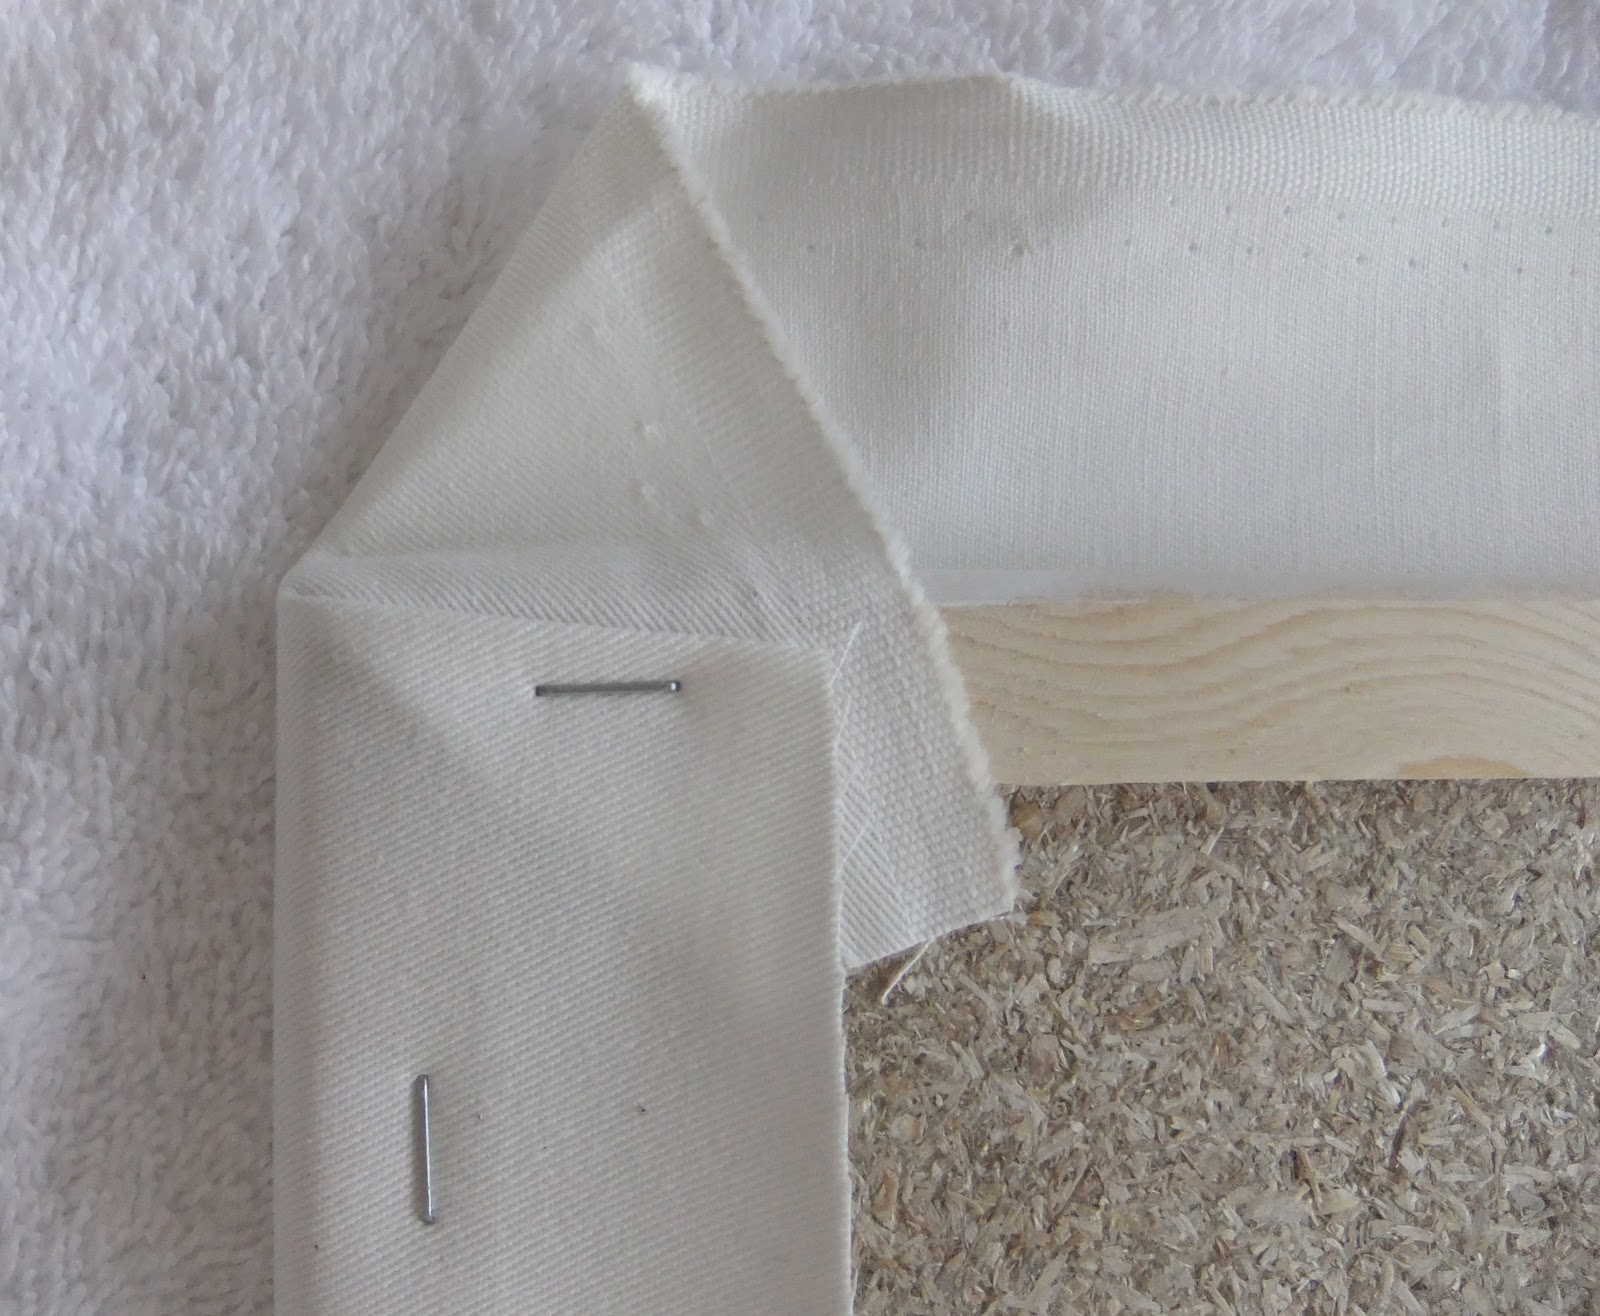
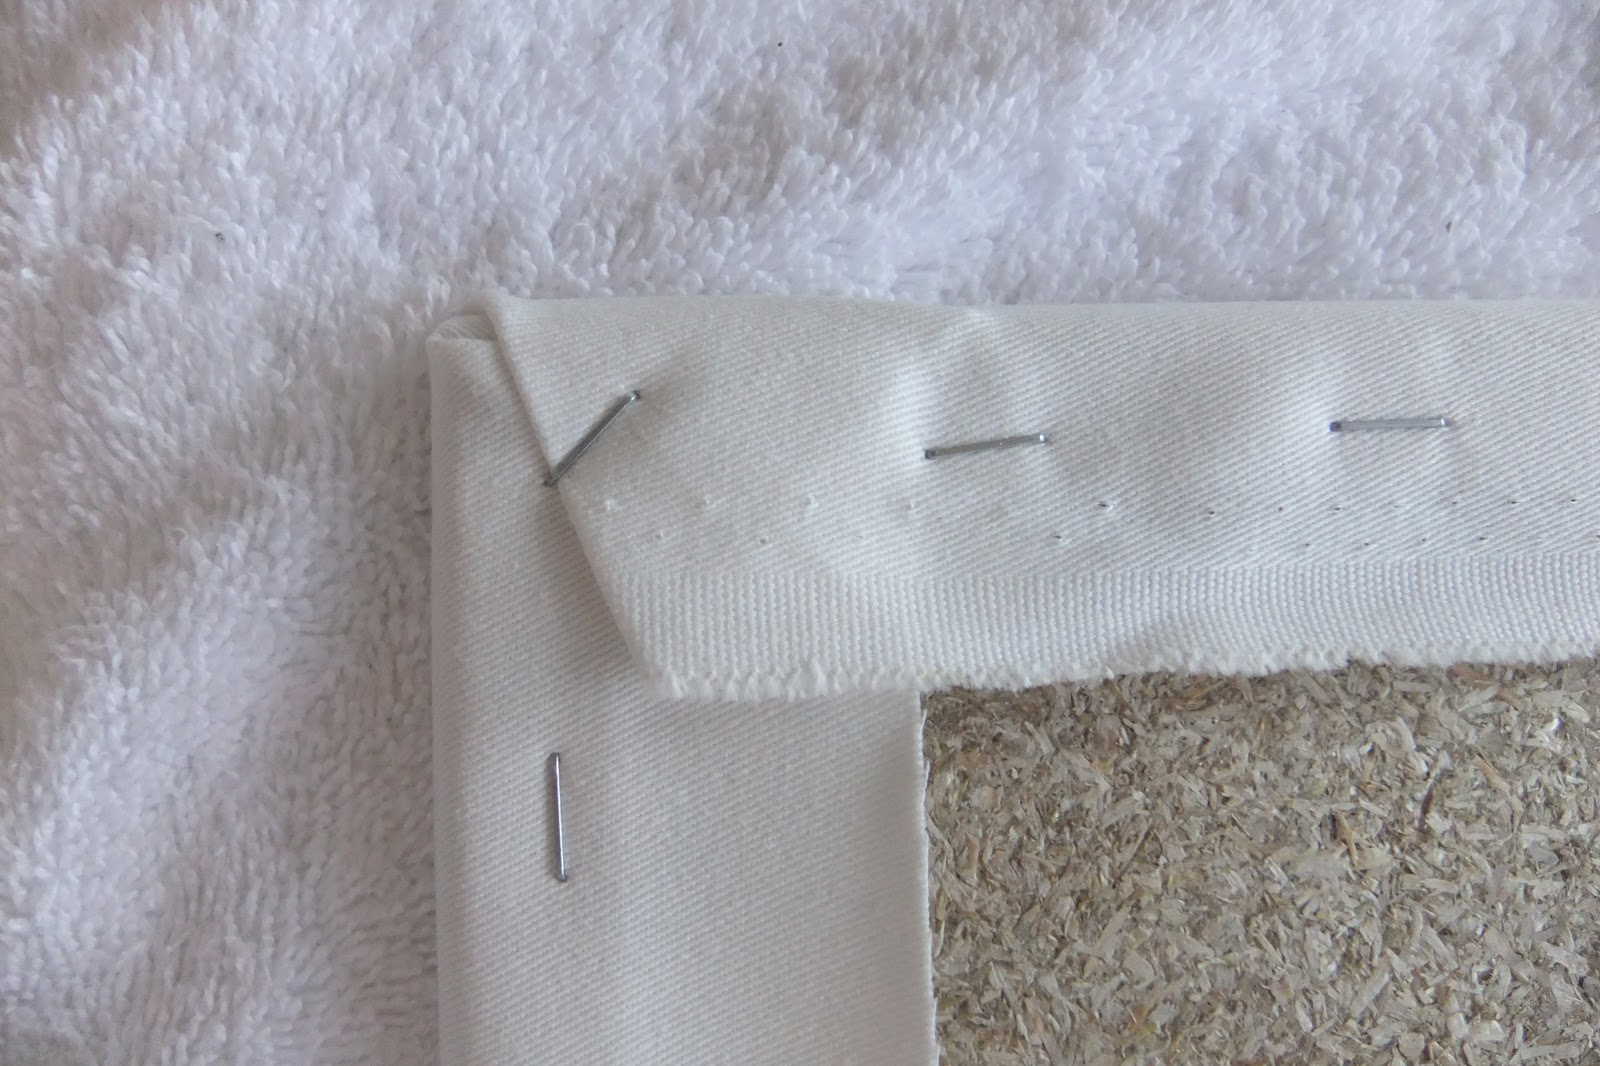
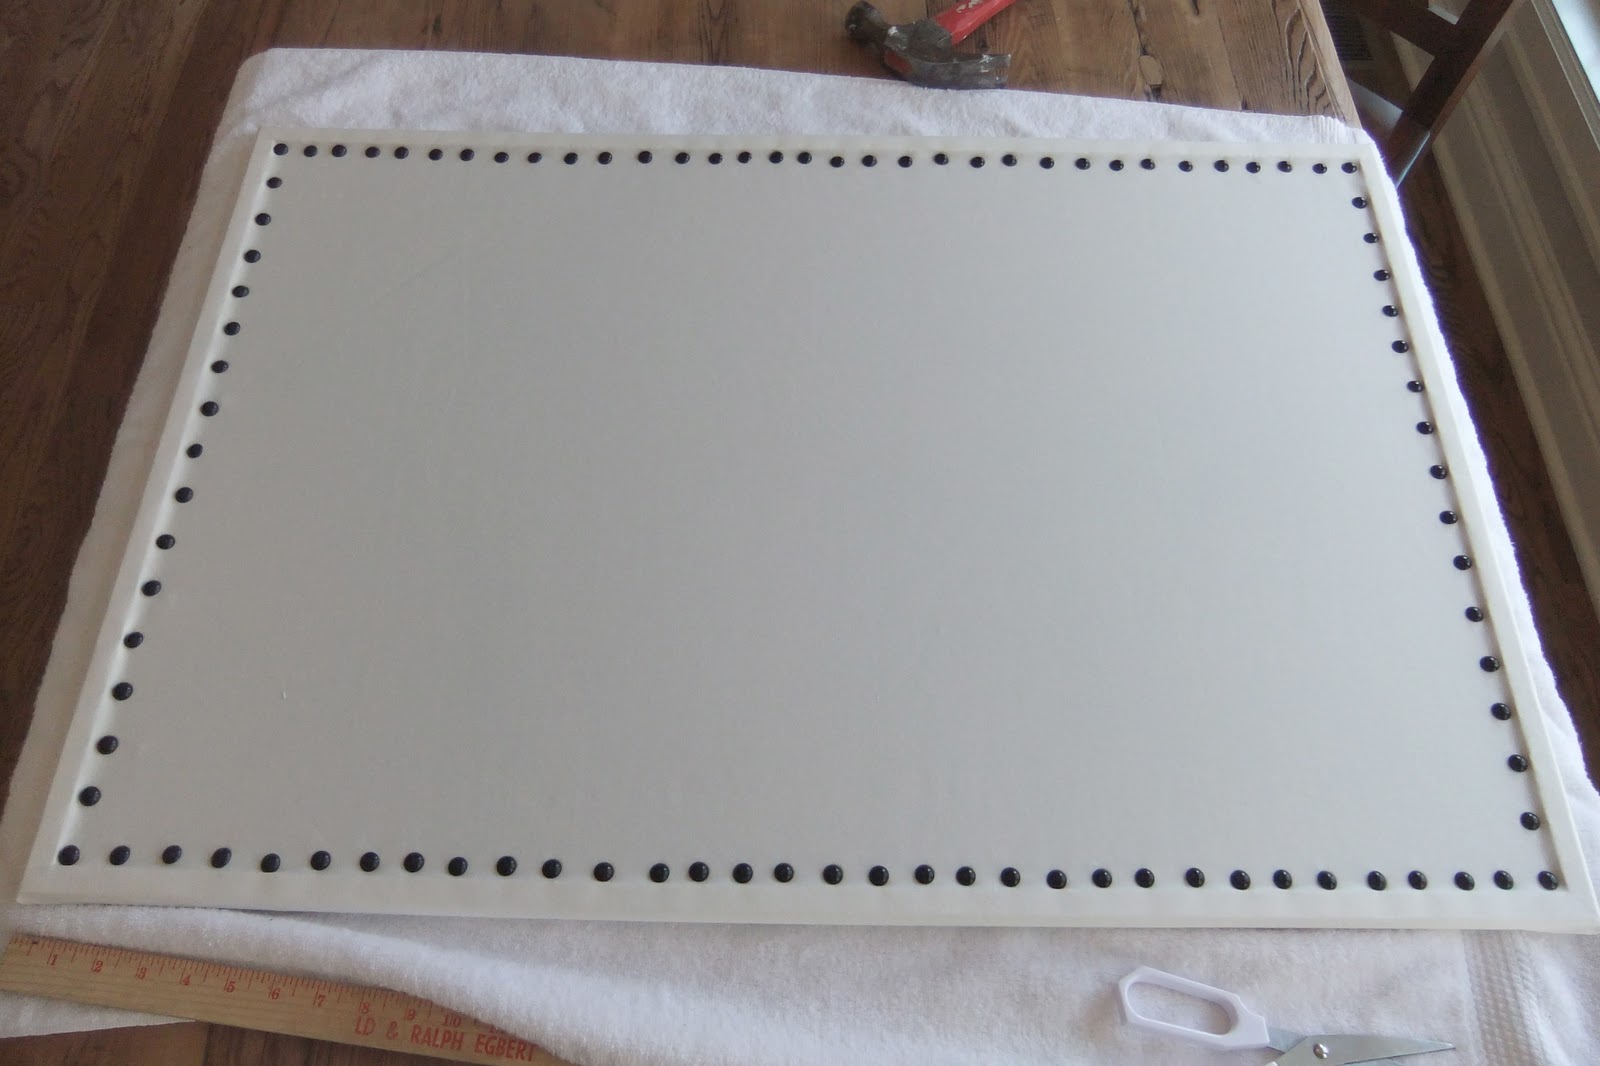
I applied this crazy sticky velcro to the sides and corner of the utility sink and tacked the edge of the side panel to the wall with an upholstery nailhead that I had leftover from my corkboard project (I always try to use project leftovers whenever possible).

I peeled off the outside piece of adhesive paper from the velcro and placed the skirt right at the edge of the lip of the sink.  I pressed really hard to make sure the fabric was sticking to the velcro.  I continued all the way around the corner and front of the sink until it was completely covered.


I added this really cute mirror that I found at Lowe’s (it was on sale for around $60) that looks very similar to a Pottery Barn mirror. The dimensions for this mirror were perfect for the space.  
BEFORE

AFTER

This project was super easy, fast and thrifty.  I spent the most money on the mirror but I think it was worth it.  


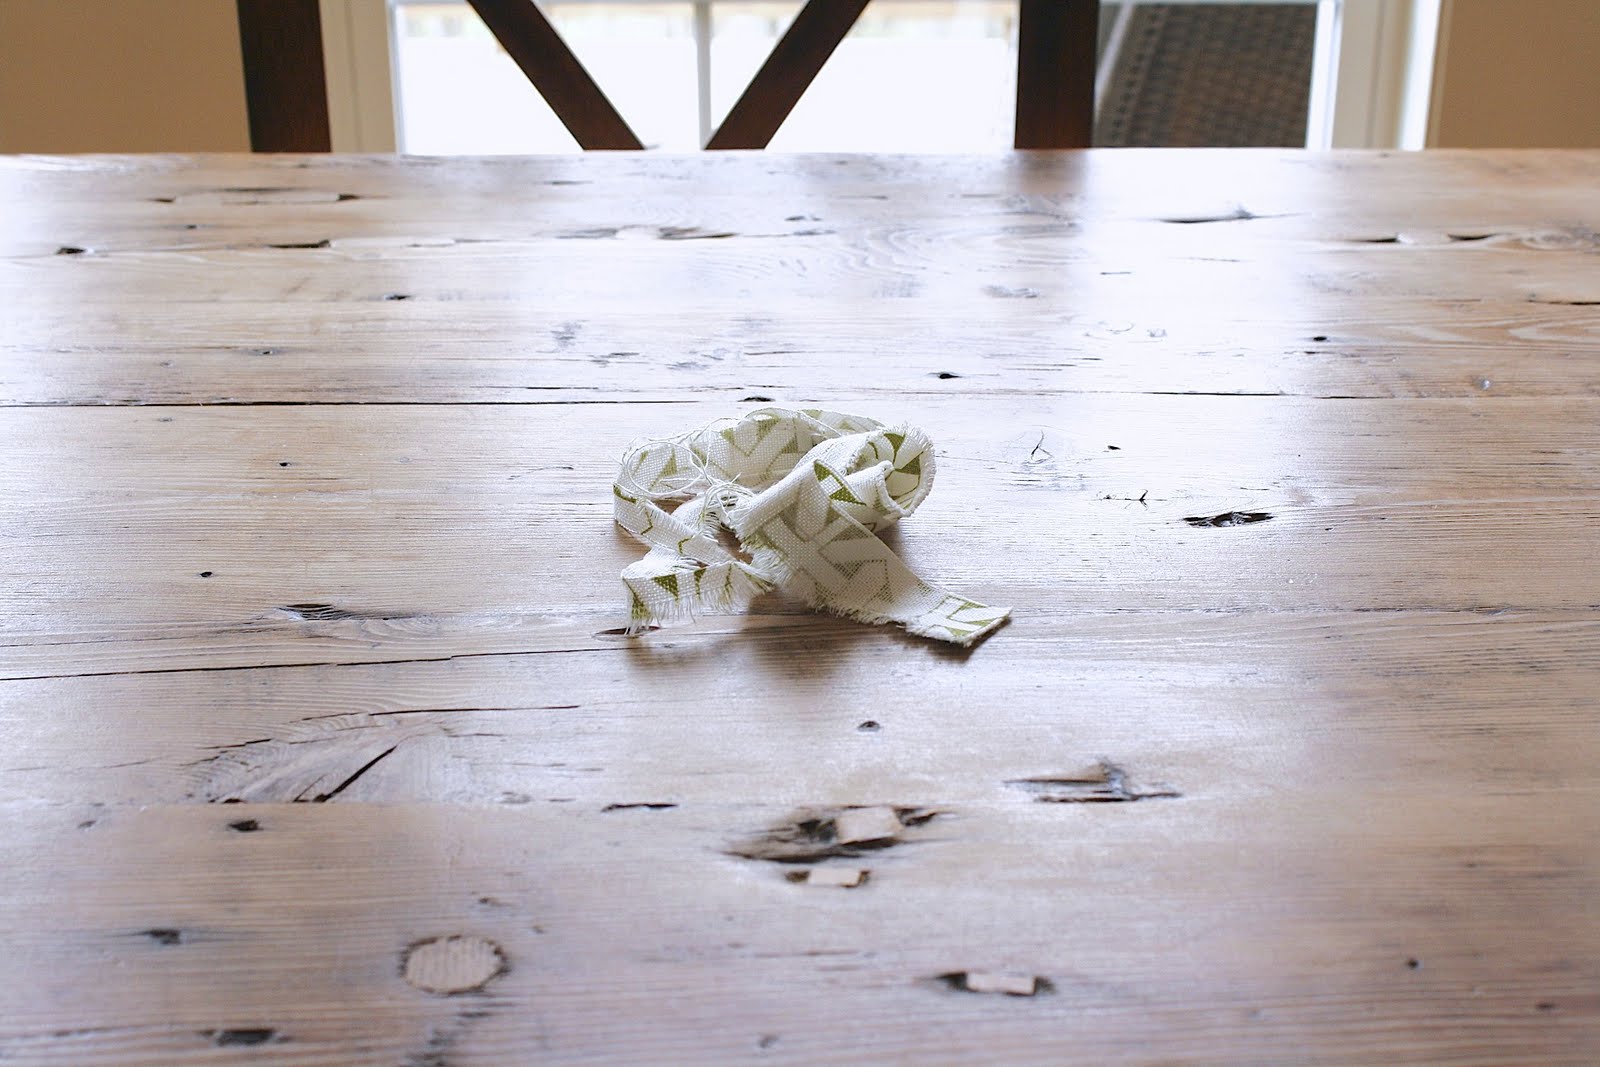
This is all the fabric I had left over from the project. I really cut it close, but thankfully it all worked out.

Photobucket

Tuesday, April 5, 2011

Danielle Oakey Interiors

Check out my latest DIY project over at Danielle Oakey Interiors.  Danielle is featuring the project for her Thrifty Tuesday Series.
danielle oakey interiors
Here is a sneak peek of the post...


Photobucket

Monday, March 14, 2011

Runny Circles

I would like to introduce you to my latest DIY art project, I like to call this one Runny Circles.
I was inspired by this beauty:
{Photo: Laurey W. Glenn; Styling: Matthew Gleason 
You may remember seeing this one in Southern Living for the 2010 Louisiana Idea House by Artist Amanda Talley.  I love the bold look of this painting.

I hung my masterpiece above the bed in our master bedroom.  I would show you a full picture of what it looks like in the room but I don't want you to see the bedroom.  We have a lot of work to do in there and I would not want to tarnish the Plain & Fancy image..ha! Happy Monday!!

XOXO,

Photobucket

Tuesday, February 8, 2011

DIY Cork Board - Part II

This is by far the easiest, easiest project to do.  I needed a way to display and store my necklaces and bracelets.  I am the kind of person who does not wear jewelry that I cannot see.  Out of sight, out of mind I guess.  I was in a local boutique and I saw that they were displaying jewelry on a painted cork board.  I went to the local craft store, bought the supplies and I was in business.


Materials Needed:  Cork board, spray paint, straight pins


Don't forget to enter the Appreciation Giveaway!  I forgot to mention that you can blog about it for an extra chance.  Just make sure you leave an extra comment to let me know.

Photobucket

Monday, February 7, 2011

DIY Cork Board - Part I

I know you have seen the cork board's covered in fabric on other blogs and websites.  I have been thinking of doing this for a while and I finally took the time this past weekend do it (it took approximately 30 minutes from start to finish).

Julie of The Girl and the Cupcake Blog talked about it in this POST.  Here is the inspiration:

{photo via Fran of Green Street Blog}


I bought 1 1/2 yards of white twill fabric to make sure I would have more than enough fabric to work with. The cork board is used in my pantry to post all the things that most people put on their fridge. I just like to keep my fridge clean so I put everything in the pantry instead.

BEFORE:


 MATERIALS:
Fabric, upholstery stapler, nail trim, scissors, ruler.

 I trimmed the fabric to overlap a couple of inches. I also ironed the fabric after I trimming because I wanted a smooth surface to work with.

 I just started in the middle on one side began stapling. Here is a good pic of how I folded the corners.

All the fabric is stapled.  Time to flip it over to make sure it looks right.
Ta-da...totally covered.
I put the nails in the same way I did the staples.  I picked one end and started in the middle.
All finished.  I used 96 nails.
I really think this looks a ton better.  Originally I wanted to use antique brass nails, but Lowe's did not have what I wanted.  I went with the black to match the chalkboard.  I am glad I did, I really like the black and white combination.  It makes both boards look cohesive next to each other.

AFTER:
I am really happy with the way this turned out and it was super easy!

Happy Monday everyone!  Here's to a great week!

Photobucket

Wednesday, January 26, 2011

Dining Room

Finally, we are starting to decorate the dining room.  The room has been vacant with the exception of a round table with no chairs, fabulous drapes:) and a pretty light for an entire year.


Here's what we need:

  • molding
  • rug
  • chairs
  • buffet/sideboard
  • artwork
  • large mirror
  • sconces (2)
My husband decided to start on the molding over the weekend.  I helped hold the trim in place and tell him that he should use a level (I am sure he found this very helpful:).  I also threatened him if he harmed the drapes in any way, shape or form (he appreciated this as well:).


He has already calculated how many boxes to put on the bottom of the molding.  We will paint the bottom half of the wall white and leave the top of the wall grey (SW Majestic Grey).

I ordered a pretty chair for the table.  I thought it would be best to order one, see if we like it and order more if we do.  I really hope that it looks as good as the picture.  You never know what you are going to get if you don't see furniture in person before you buy it.  If we don't like the chair I will just send it back and try again.


Photobucket

Monday, January 24, 2011

DIY Art - Part II

I was really happy with the first DIY Art Project that I did, so I thought I would try it again.  This time I did not have an actual inspiration piece.  I did have a few things that inspired the colors and flow of the piece.


Here are the pieces that inspired my project:


Do you remember the painting in the Jennifer Lopez California home?  I really liked the movement in the painting.


I know we all love fashion and it inspires and influences some of the fabrics, patterns and art we choose for our homes.


Check out Couture Carrie when you need a fashion fix.  She has a fantastic fashion blog.  I was immediately drawn to this POST called Lovely Long Skirts.


I love the bold colors combined with white and khaki hues.  Again, I like the flow of the skirts with the colors...movement.

Okay, this is what I came up with using all of these inspirations.


This is what I have so far.  My husband does not like it.  He calls it "Nuclear Sunset" and he also says it needs to be hung horizontal because it is making him sick the way it is now.  


My sister looked at it (she can paint "for real") and she didn't like it either.  She said it needs to be blended more.  


Okay, these two are hard core traditionalists.  I like modern.  It is a tough crowd.  The beauty of the DIY Art is that you can paint over it and try again.  Now, I am thinking I may just paint the whole thing blue/grey.


What do you think?  I am tough, be honest.   

Photobucket
My Ping in TotalPing.com